My DIY Inground pool build!

We decided last spring it was time to take down the above ground pool and put one in the ground. I had been planning to do an IG pool for 5 or 6 years. I had a local pool company give me a bid even though I was 90% sure I was going to do it myself. The bid was way high and they could not even start till October, so that was out the window. I ordered my pool kit from poolwarehouse on June 4th and due to COVID the shipping day was estimated to be 8+ weeks out. We decided on a 18x43x30 true L pool with a full width sun deck across the end of the L. The wait begins.

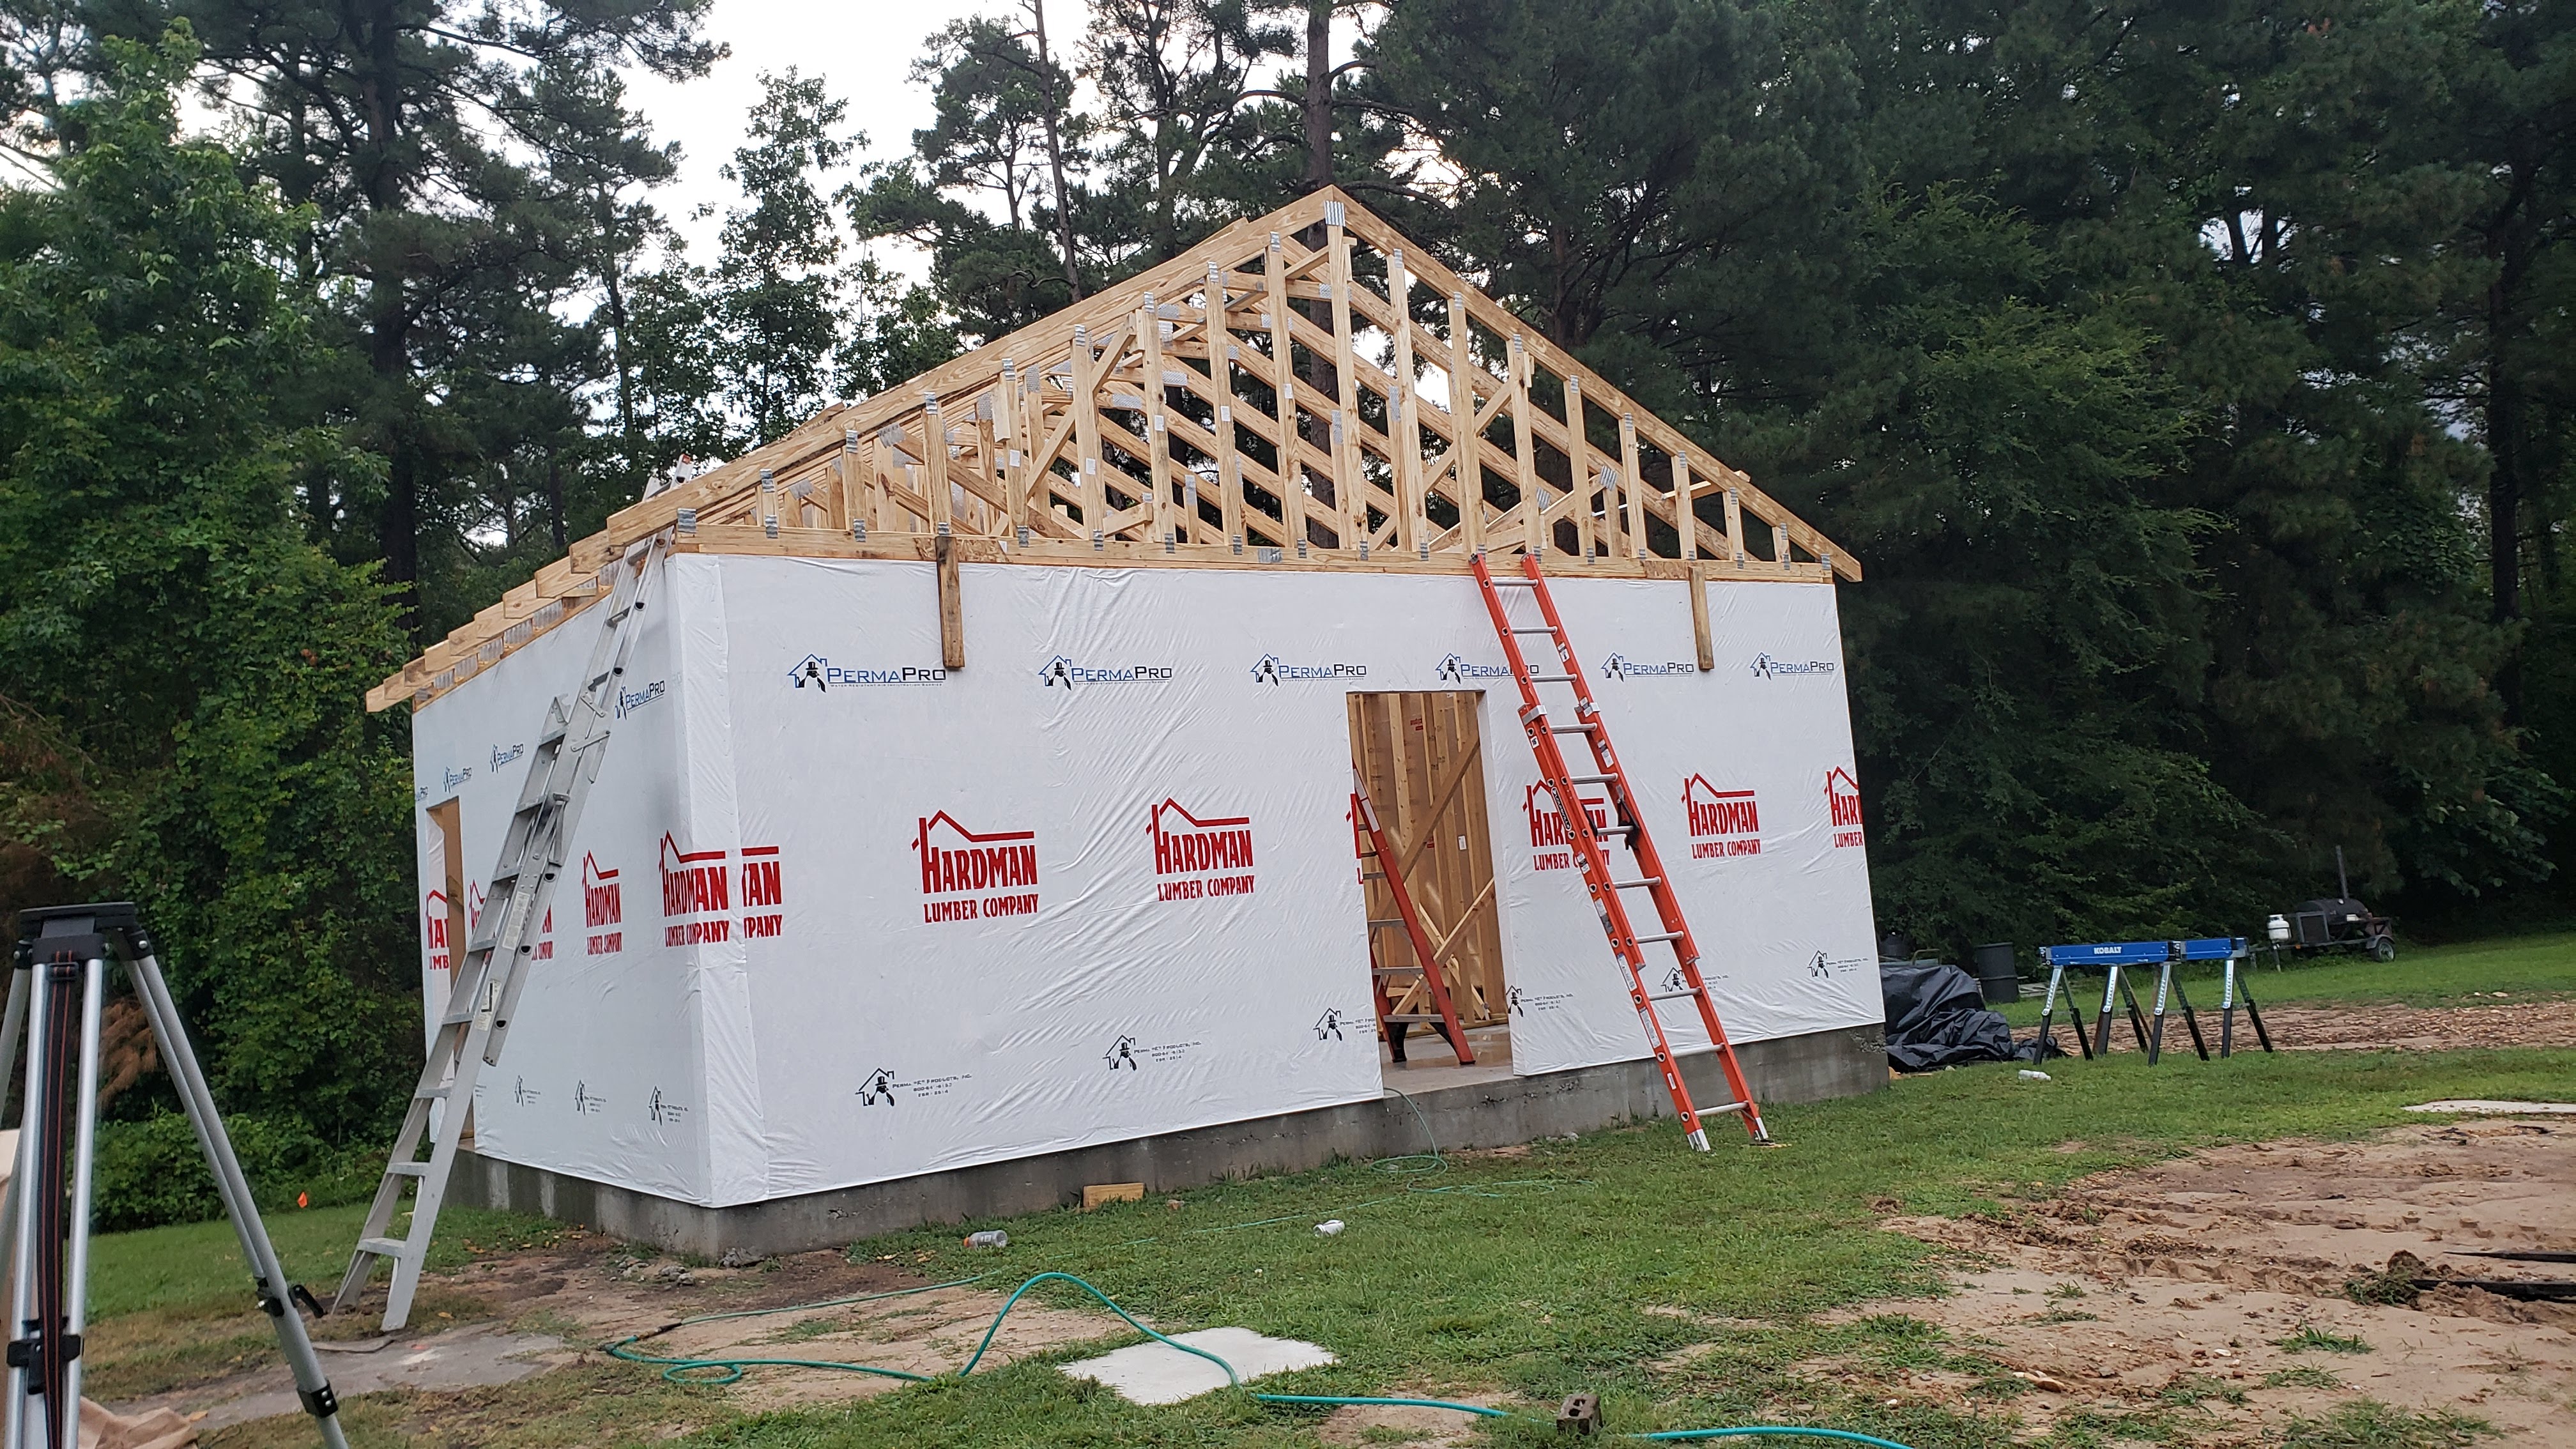
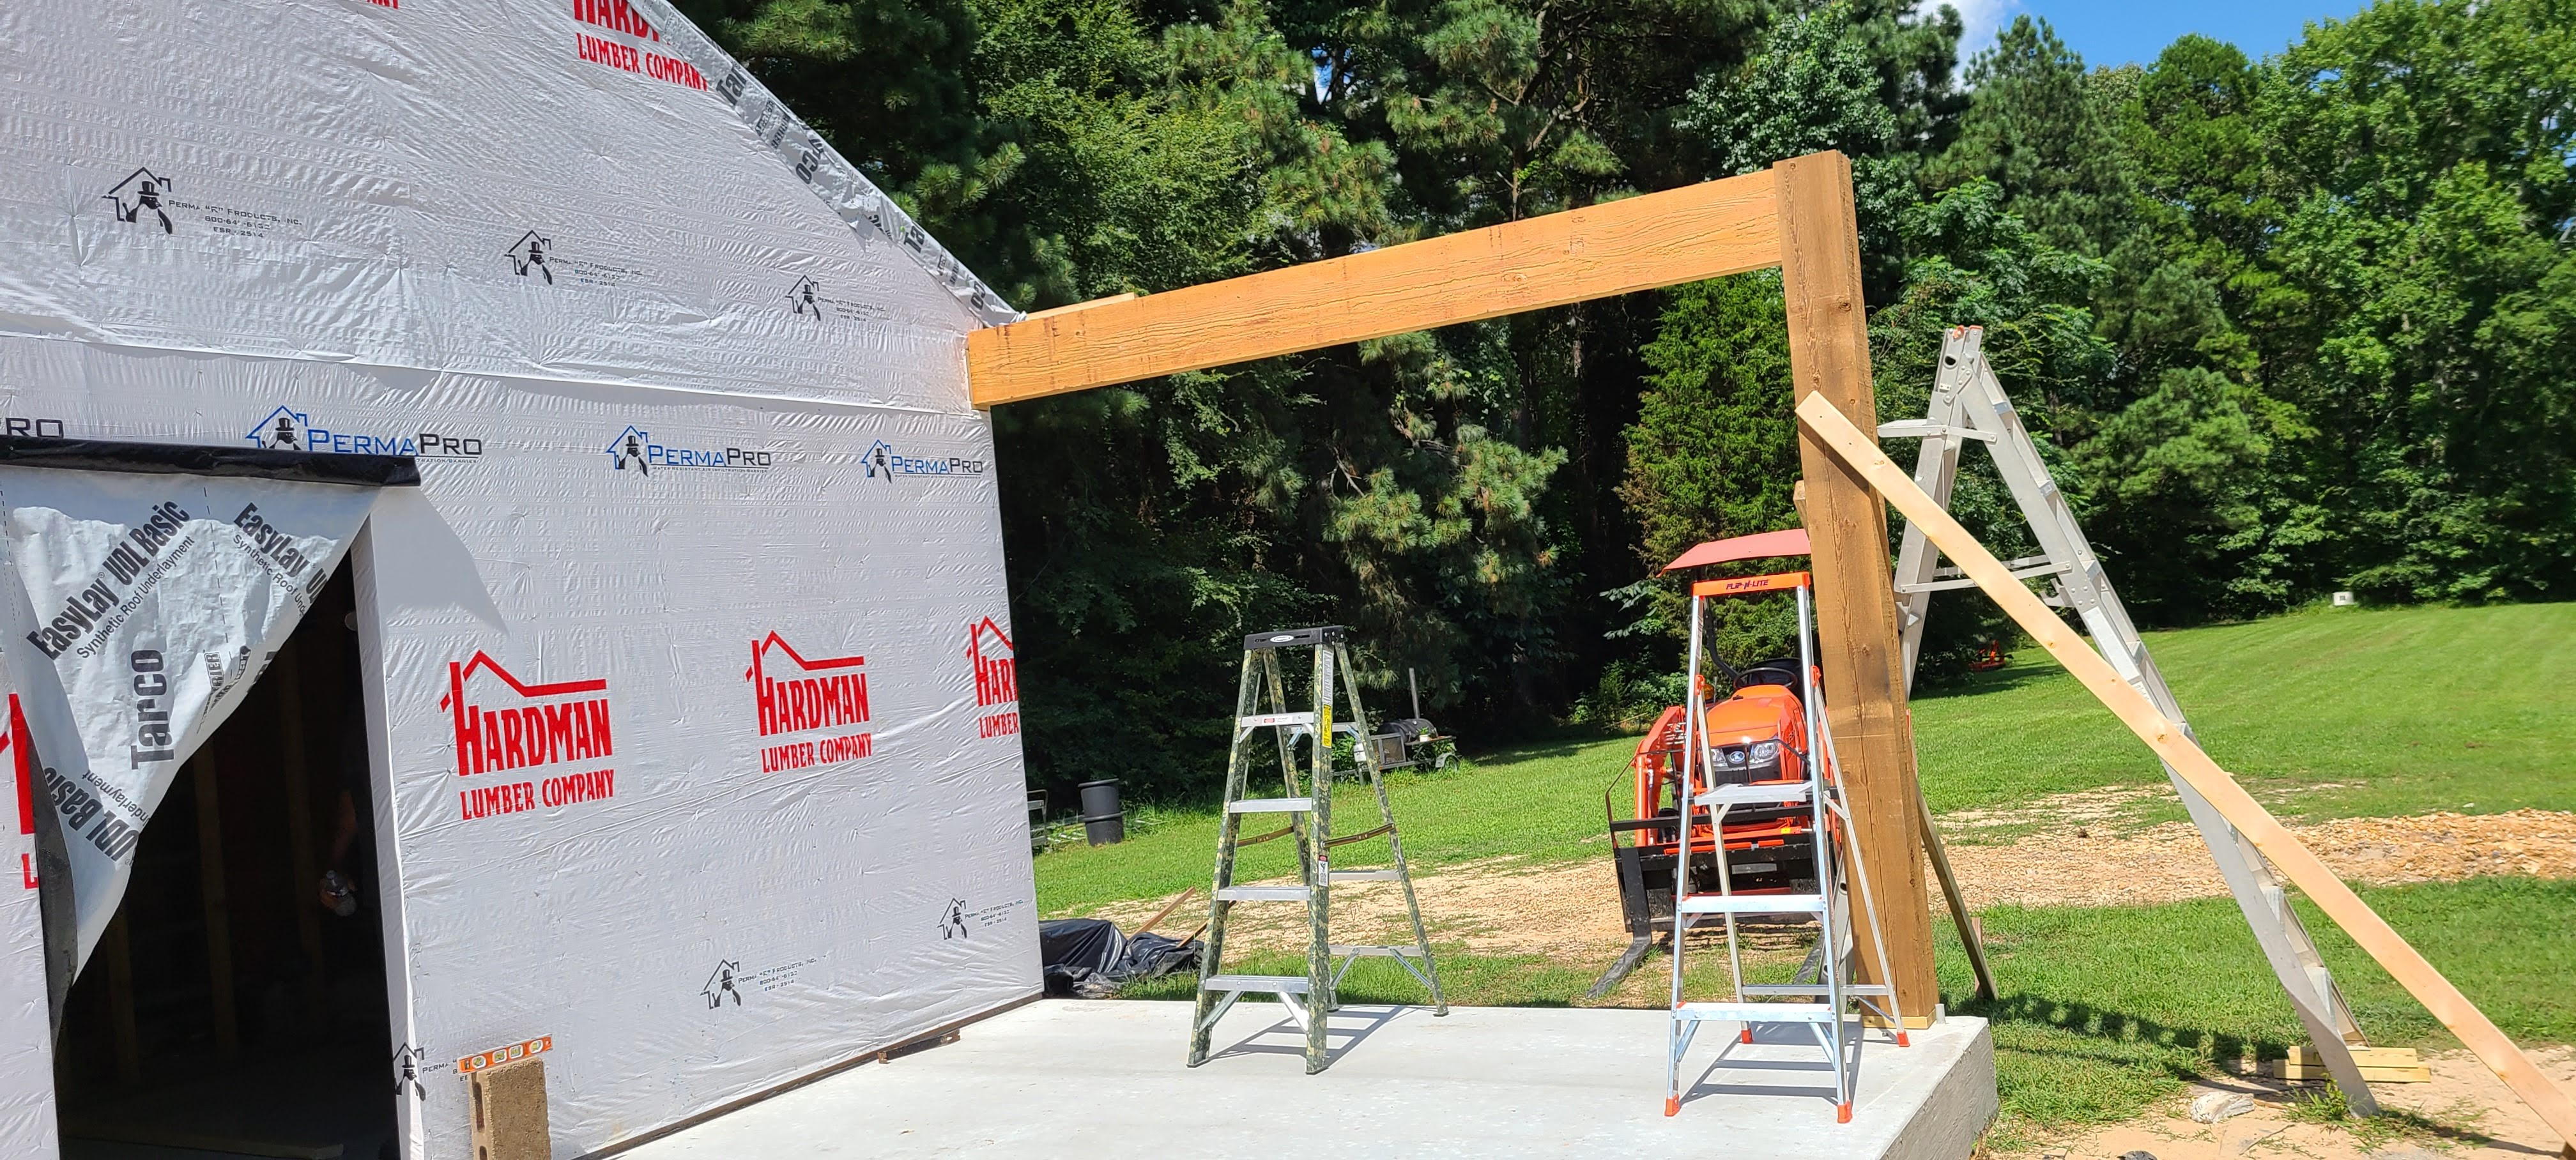
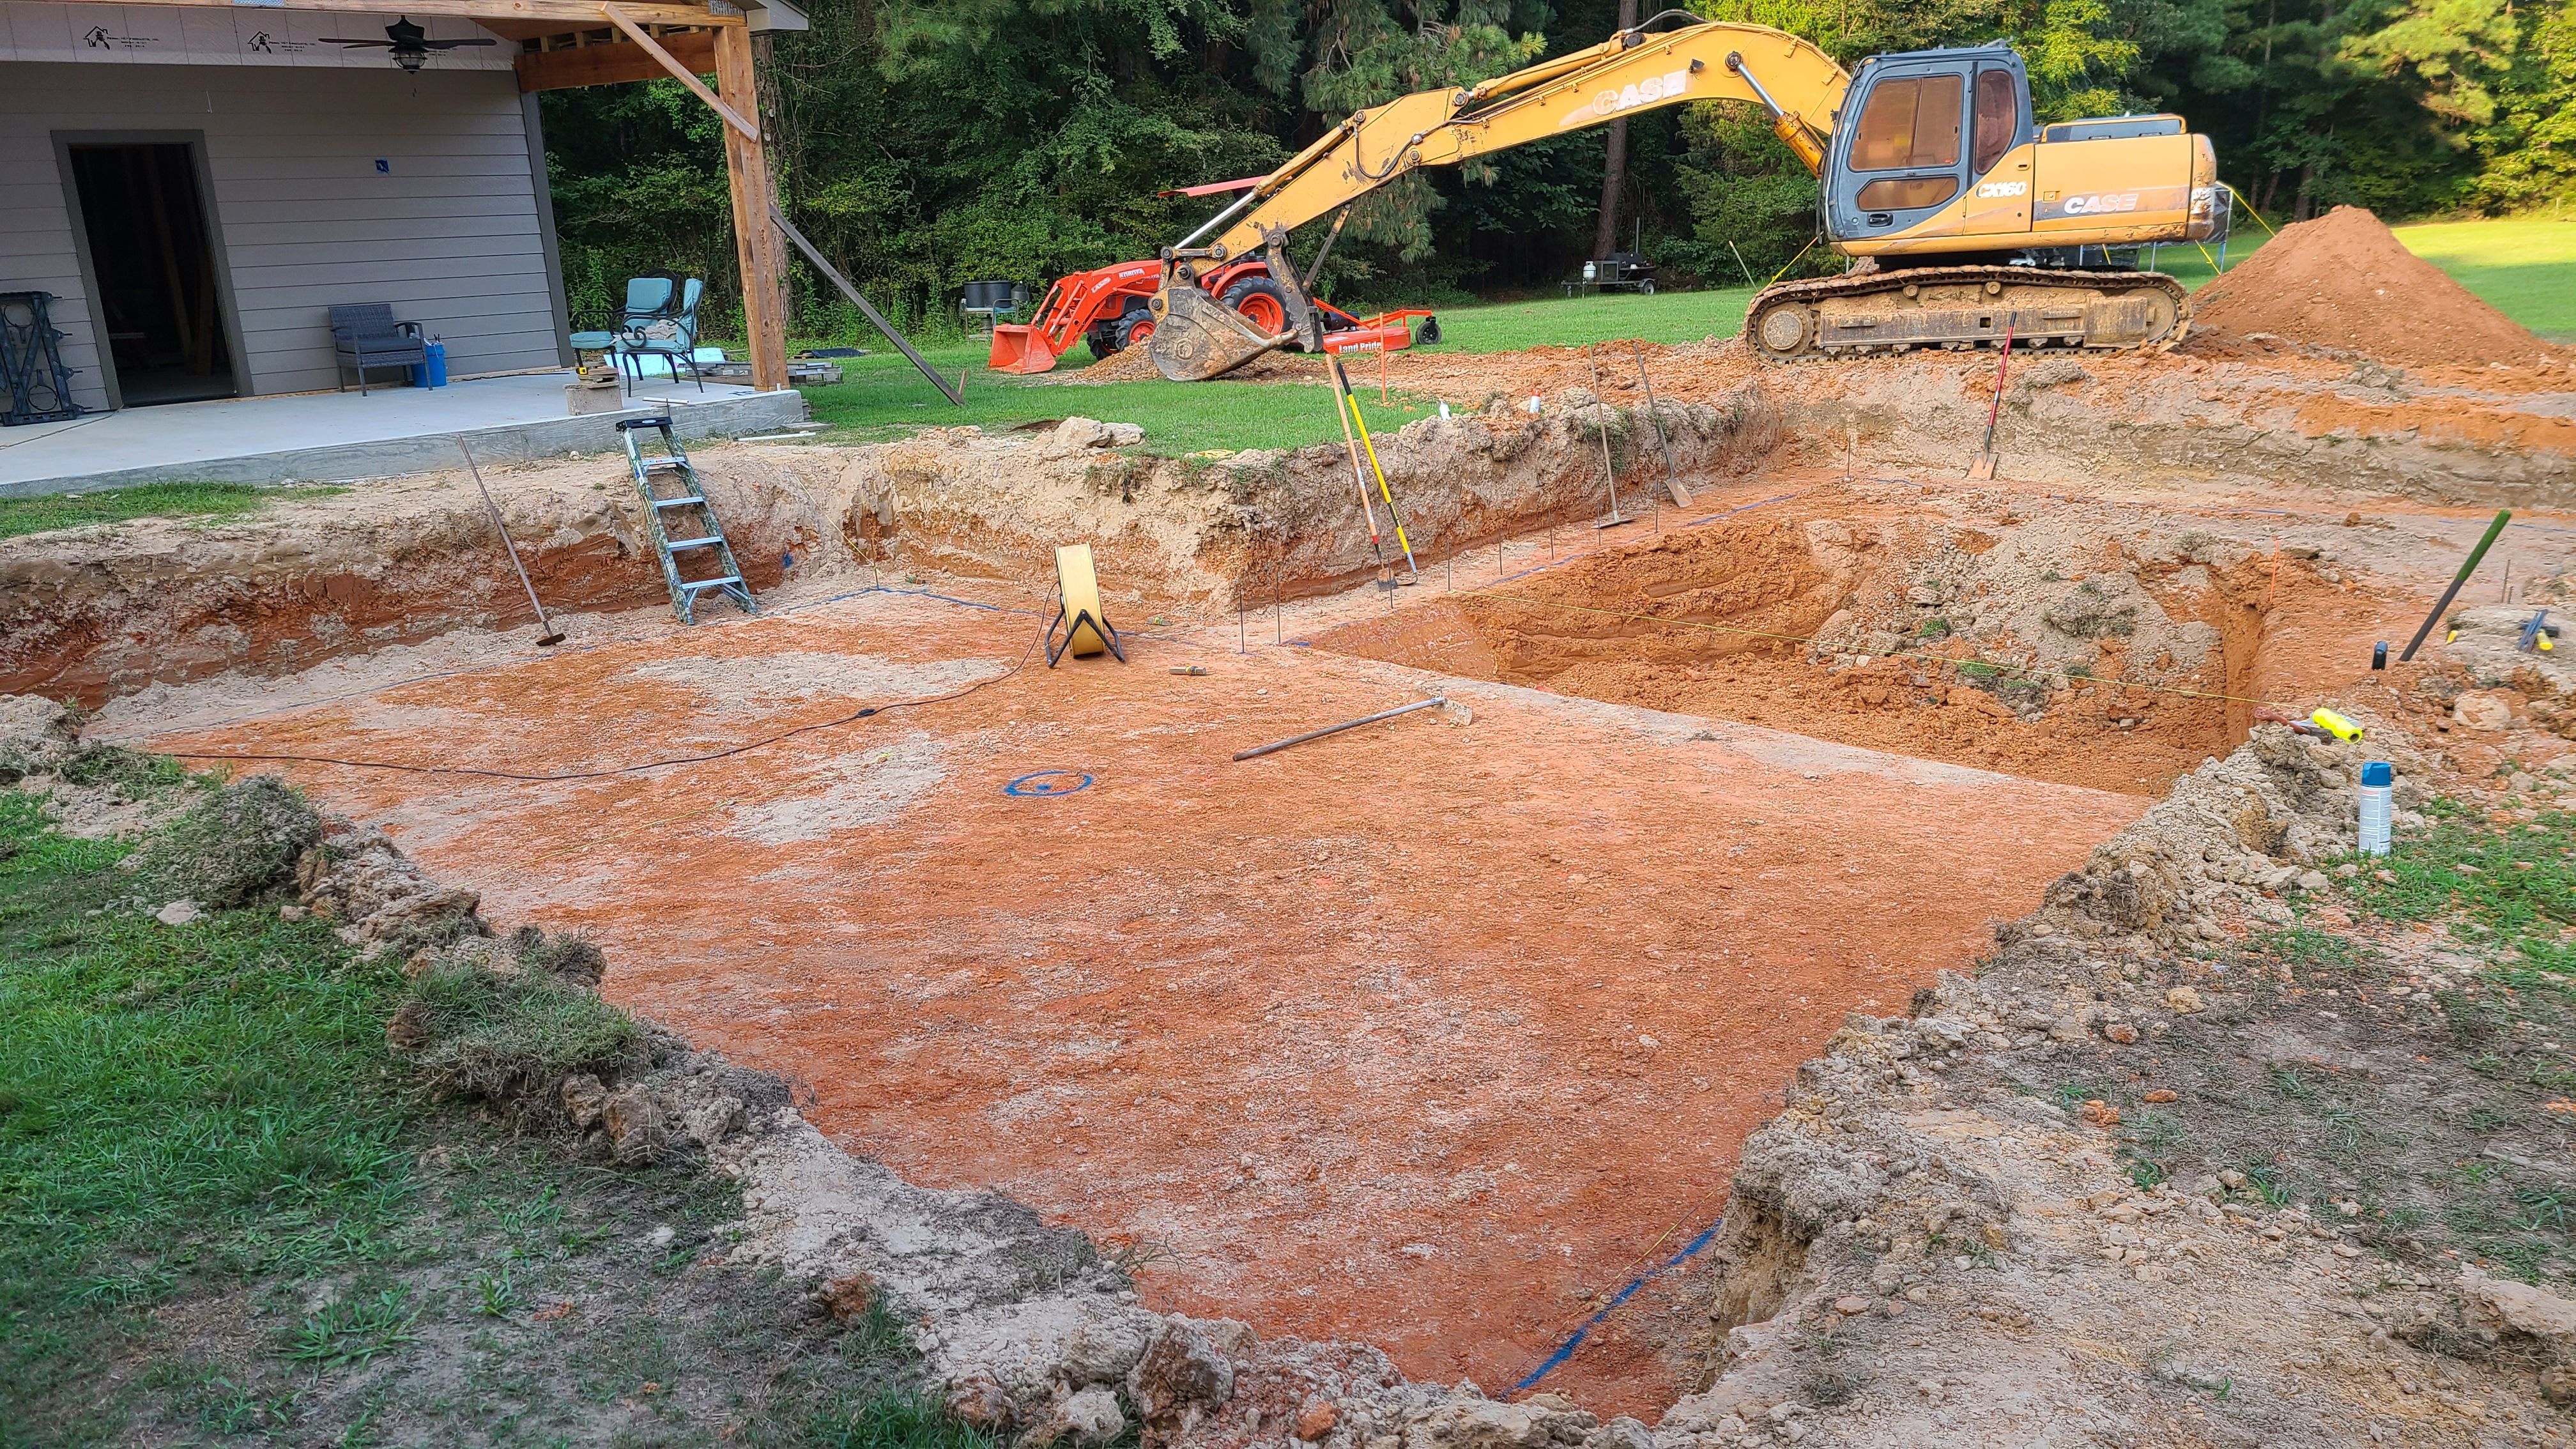
I had planned to build a pool house with a bathroom, kitchen, storage and outdoor kitchen to go along with the pool...so since the pool was going to be awhile, I started on the pool house. The pool house with porch was drawn up and I was ready to start. Ended up being 24x30 with 12' of the 30' being a covered porch.

Here is the layout:
Capture.JPG

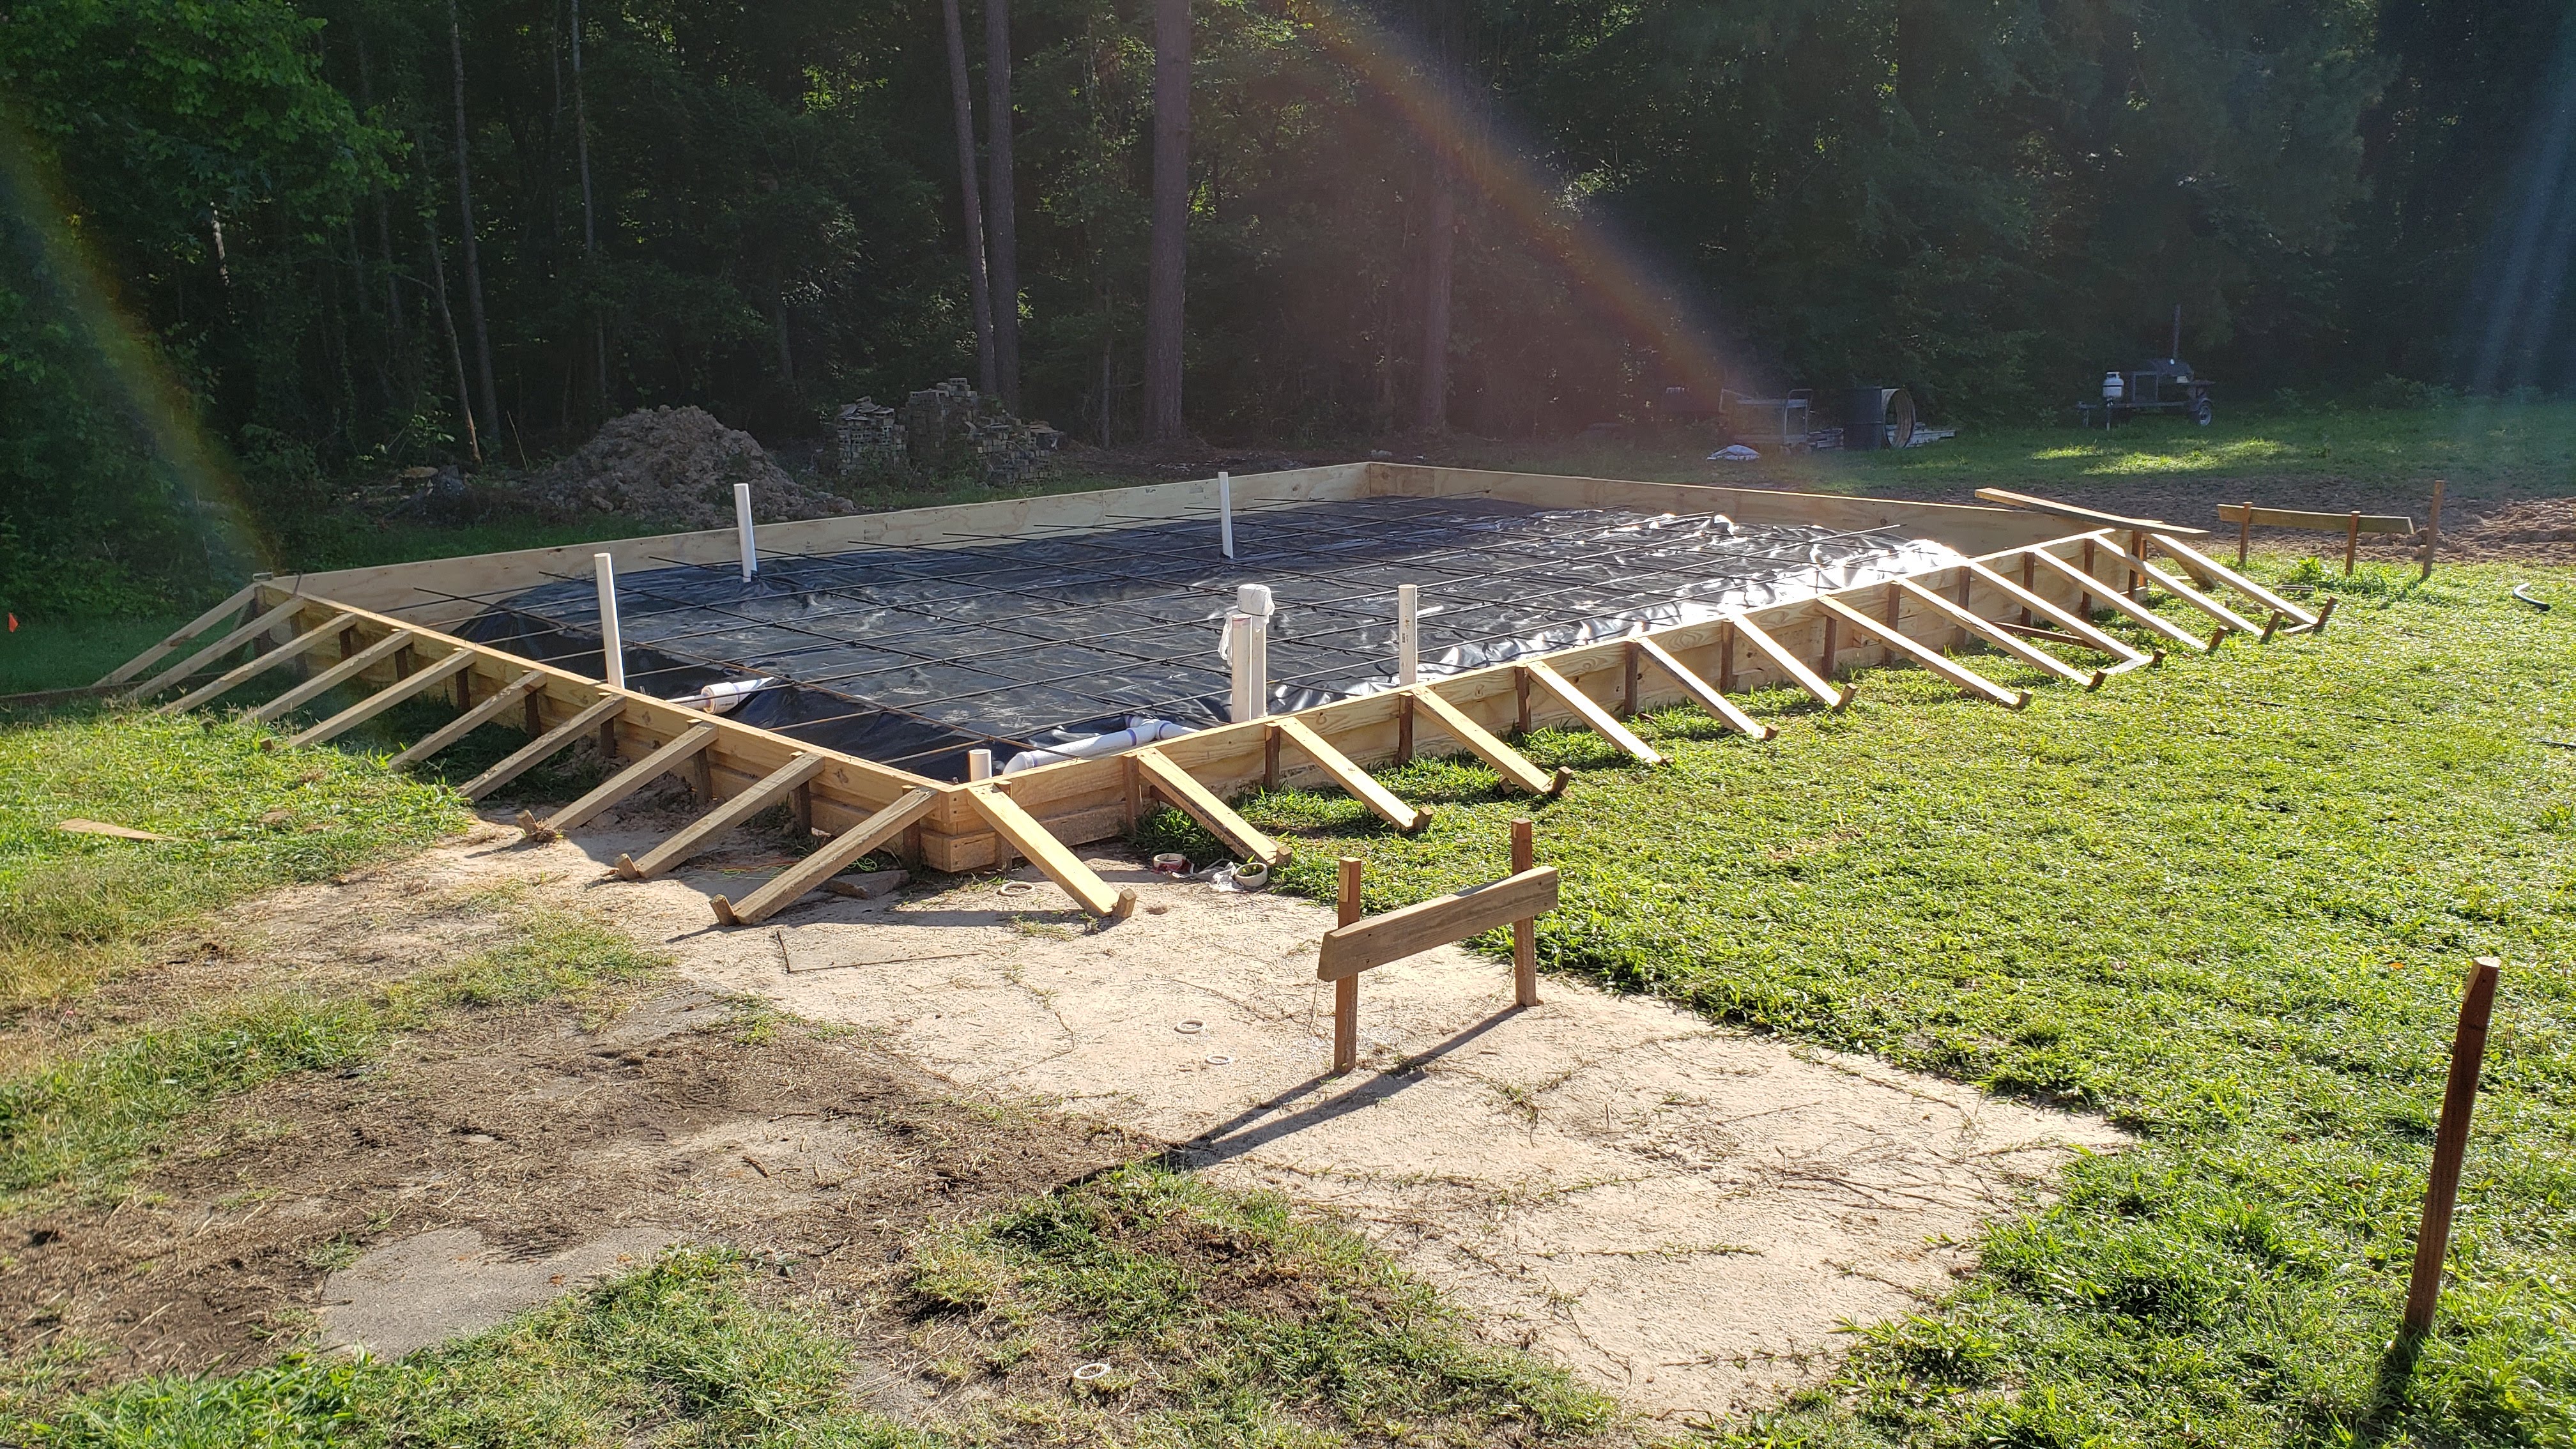
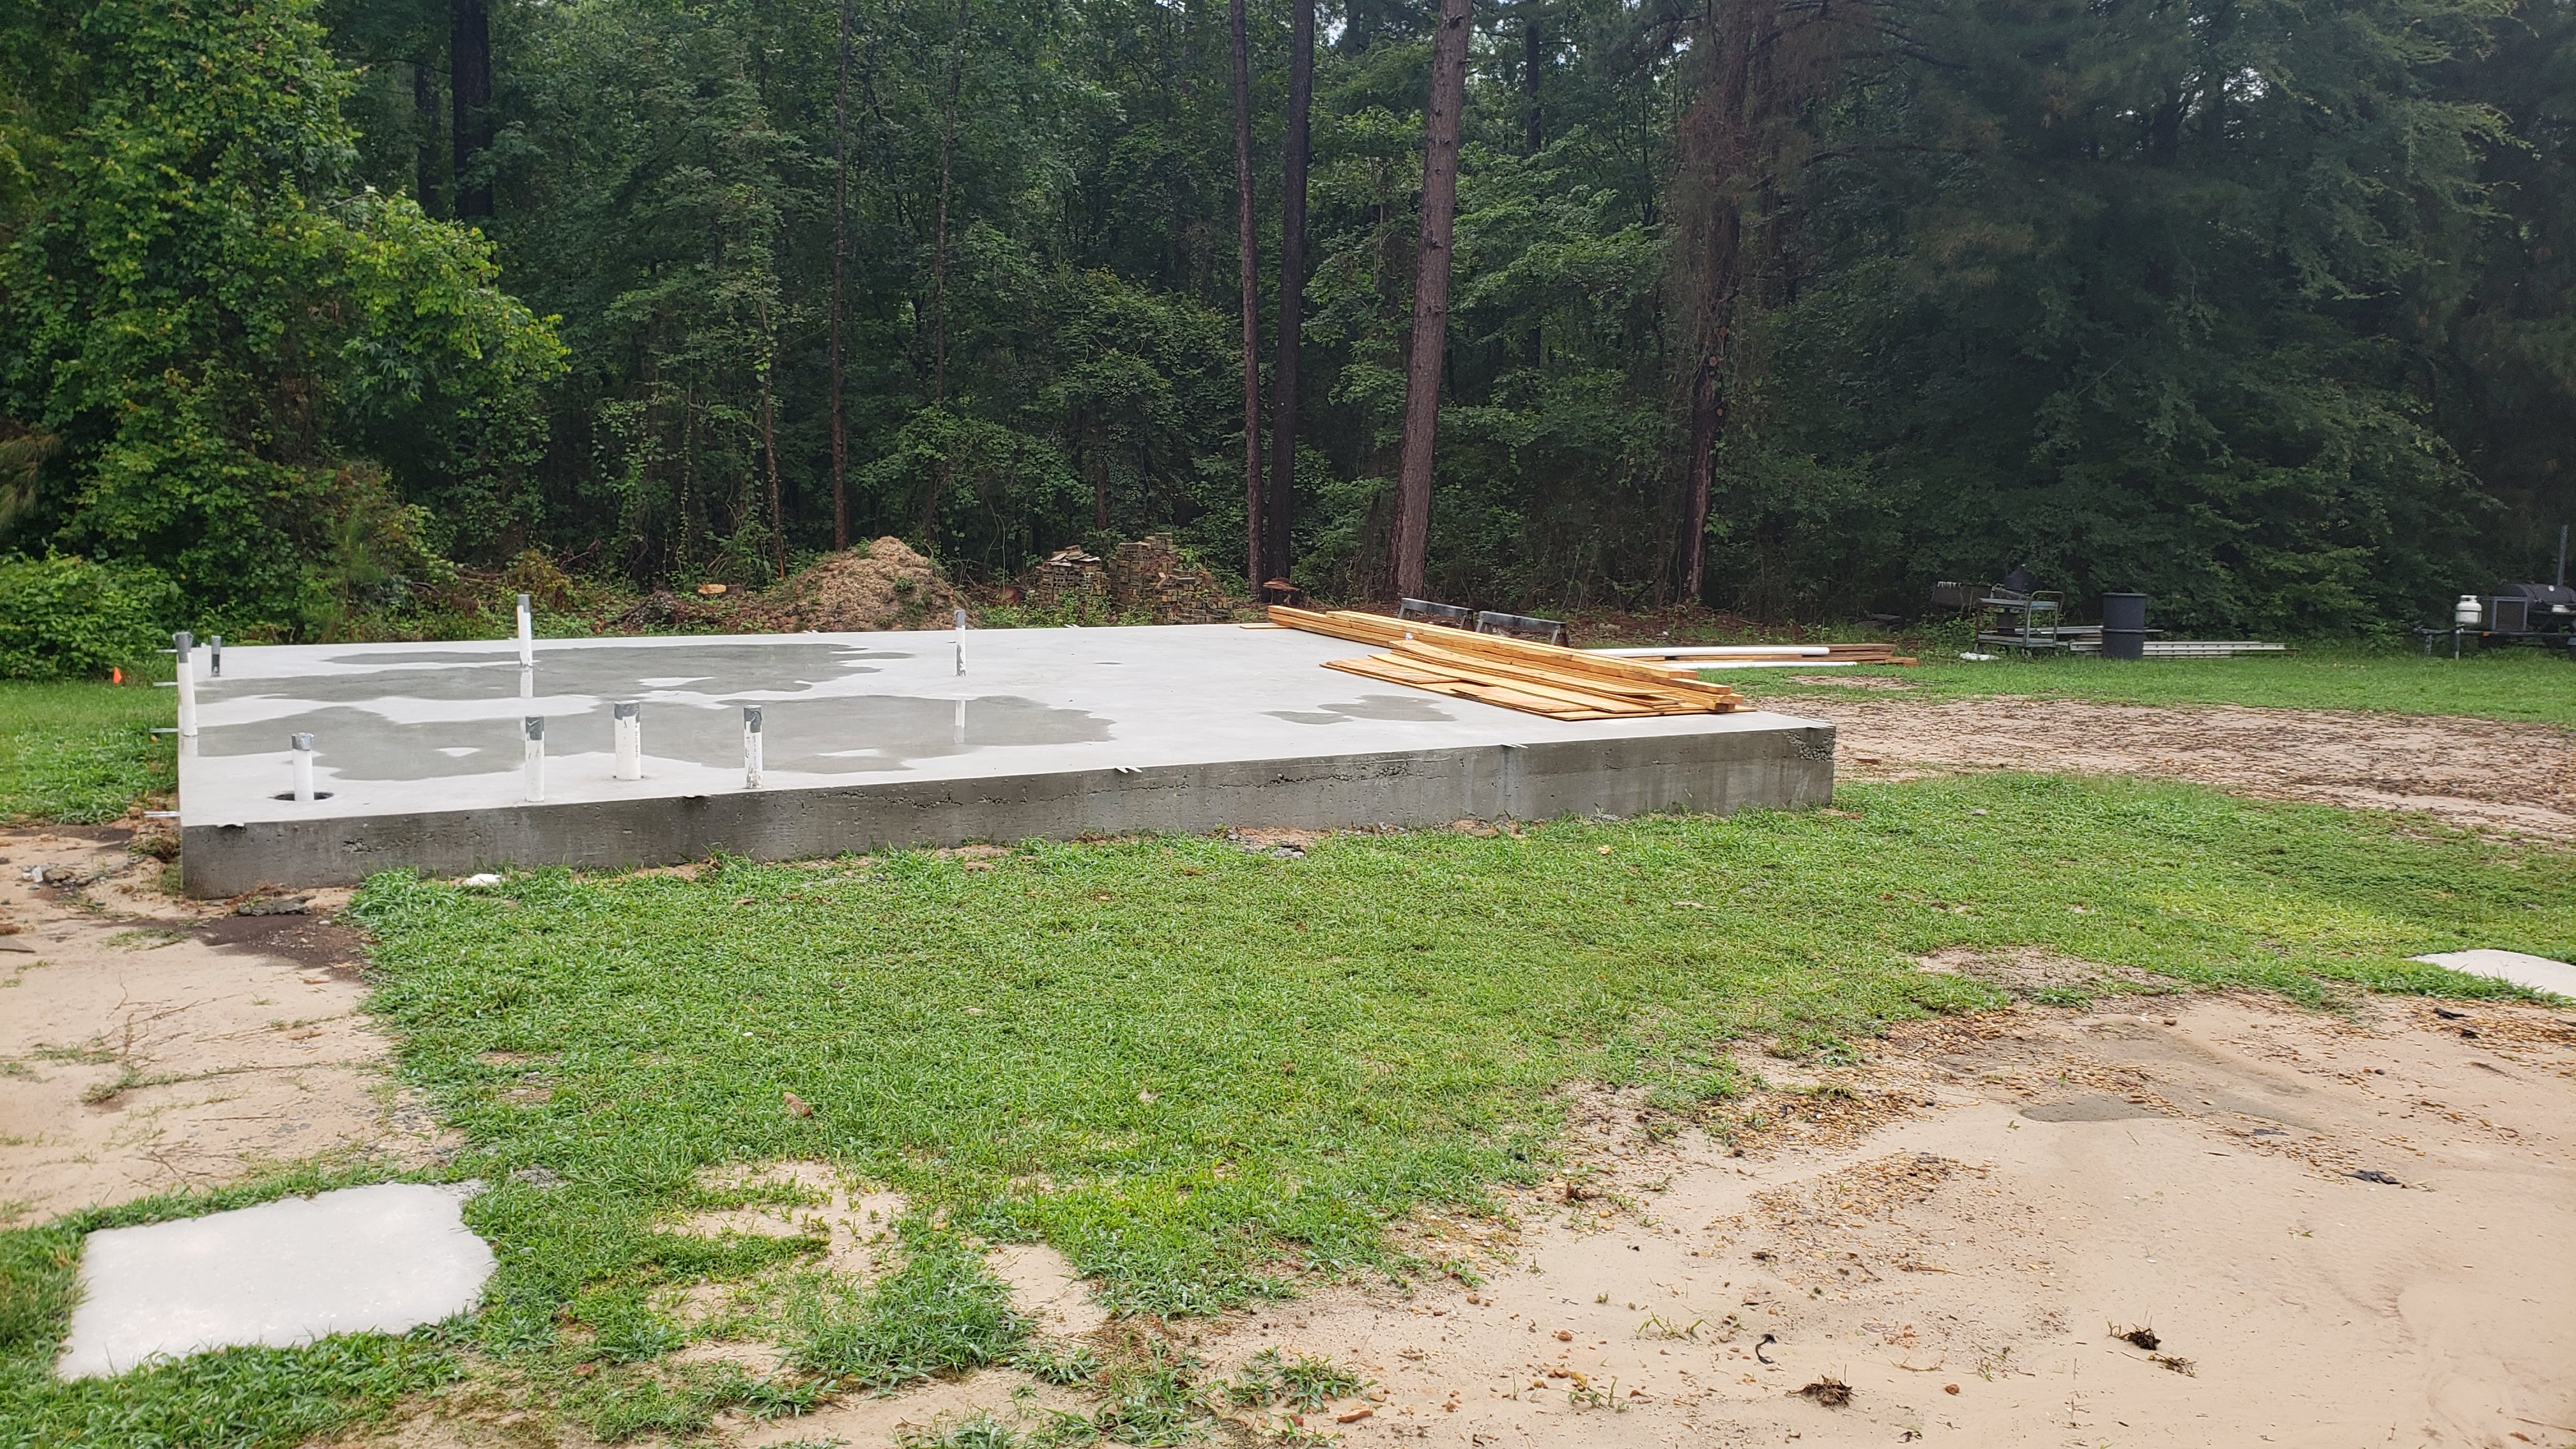
I figured out where I wanted the pool and pool house to be located and then figured the elevations on everything to match up to my existing patio. Once I knew the elevations I started building on the pool house.


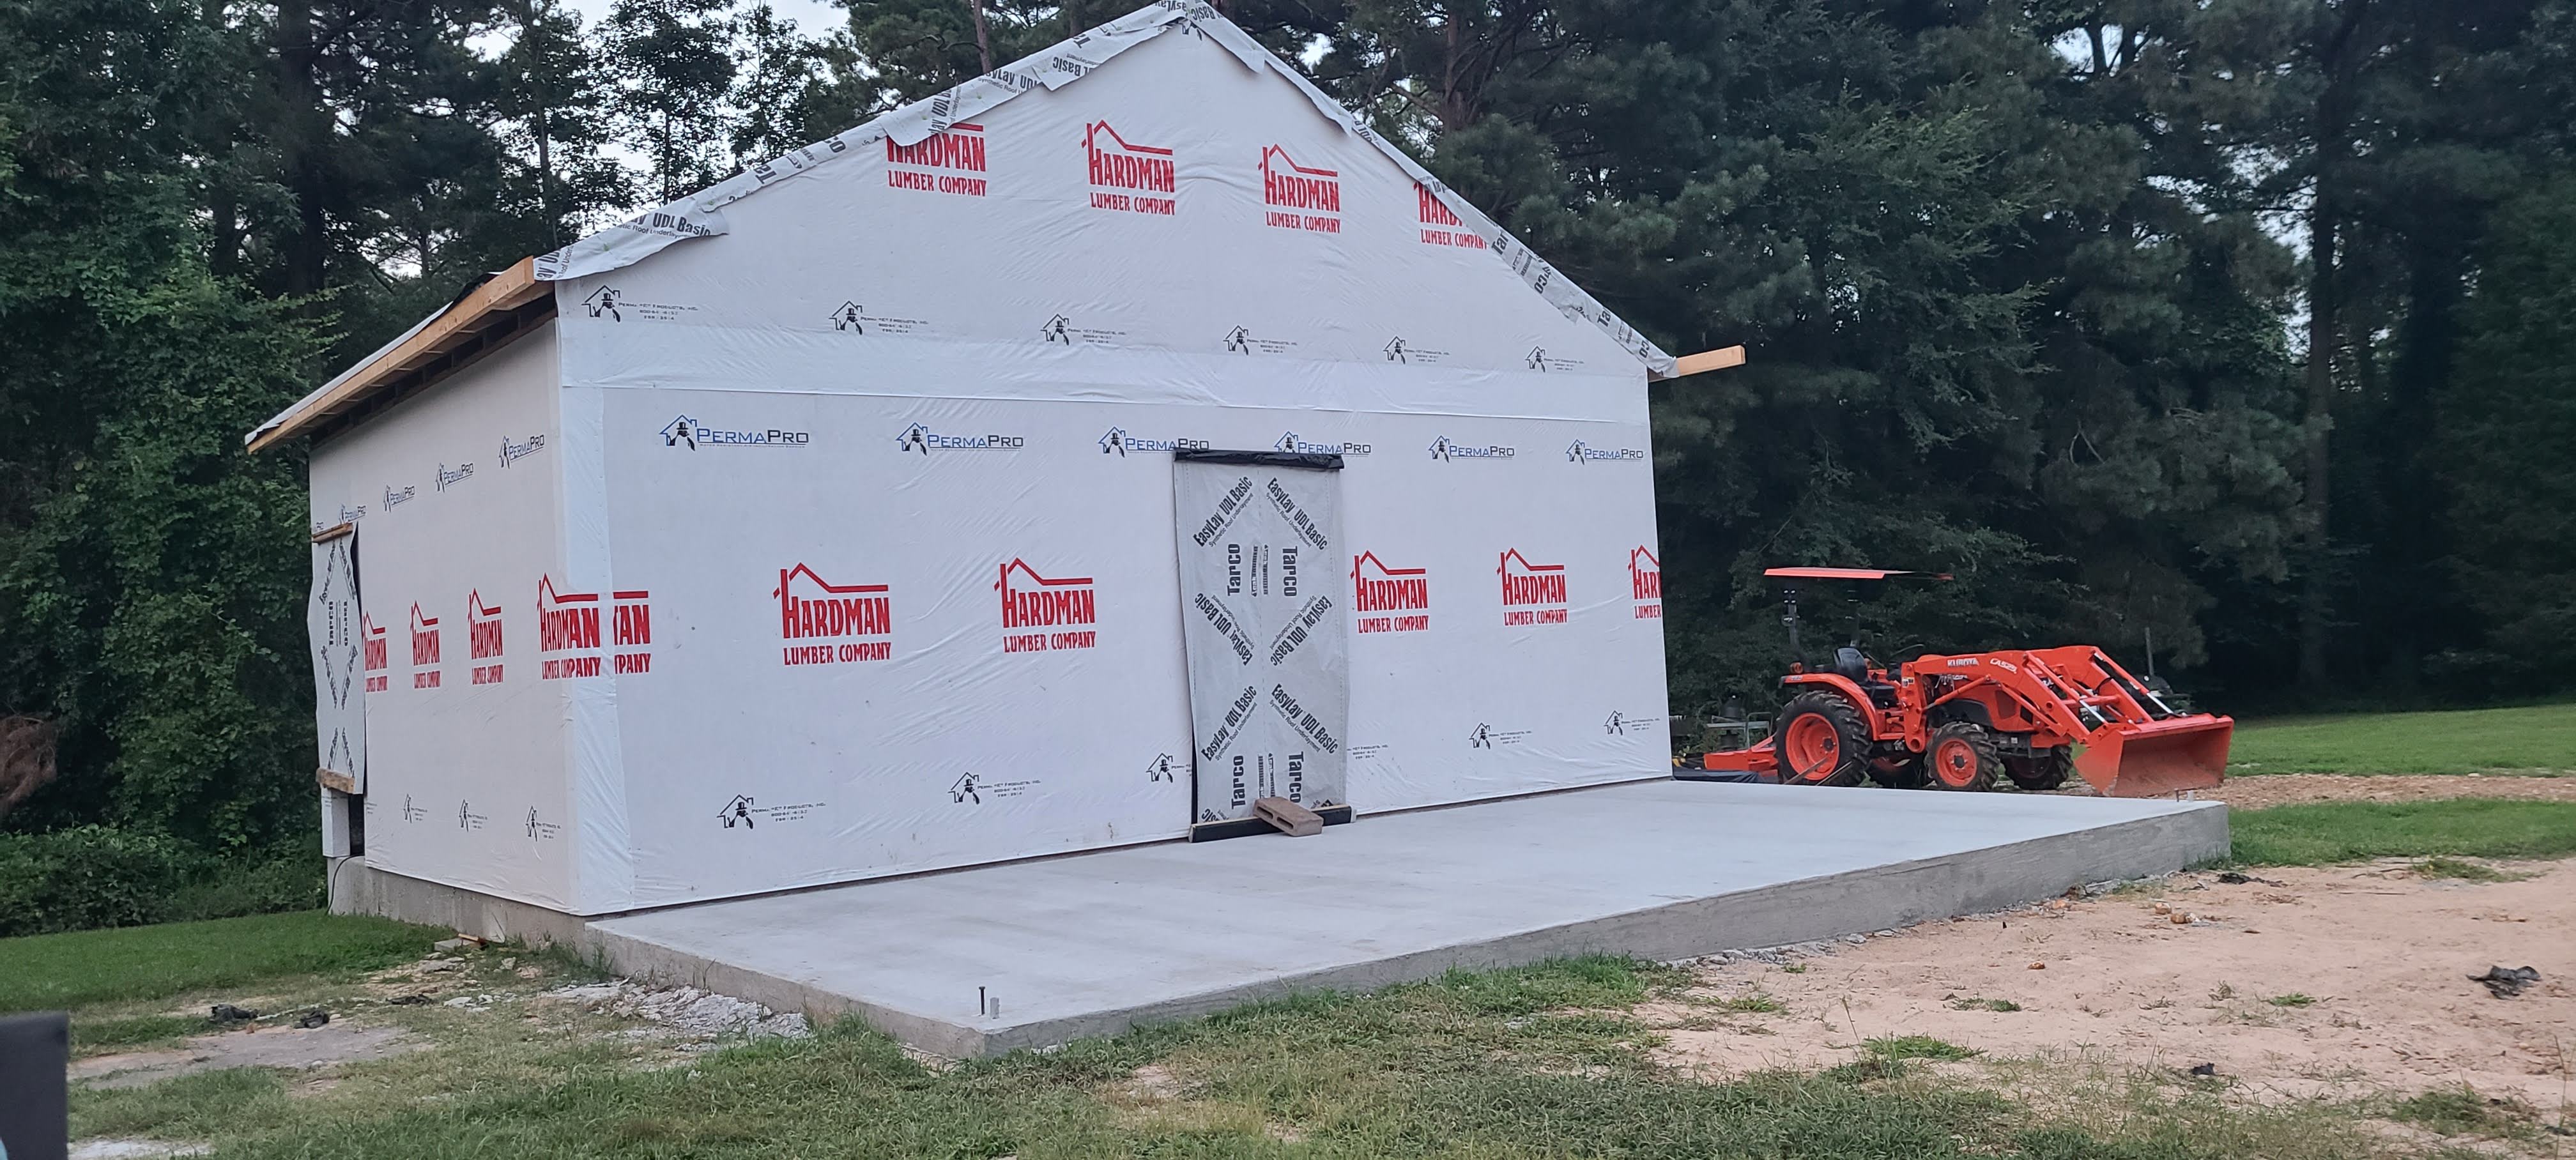
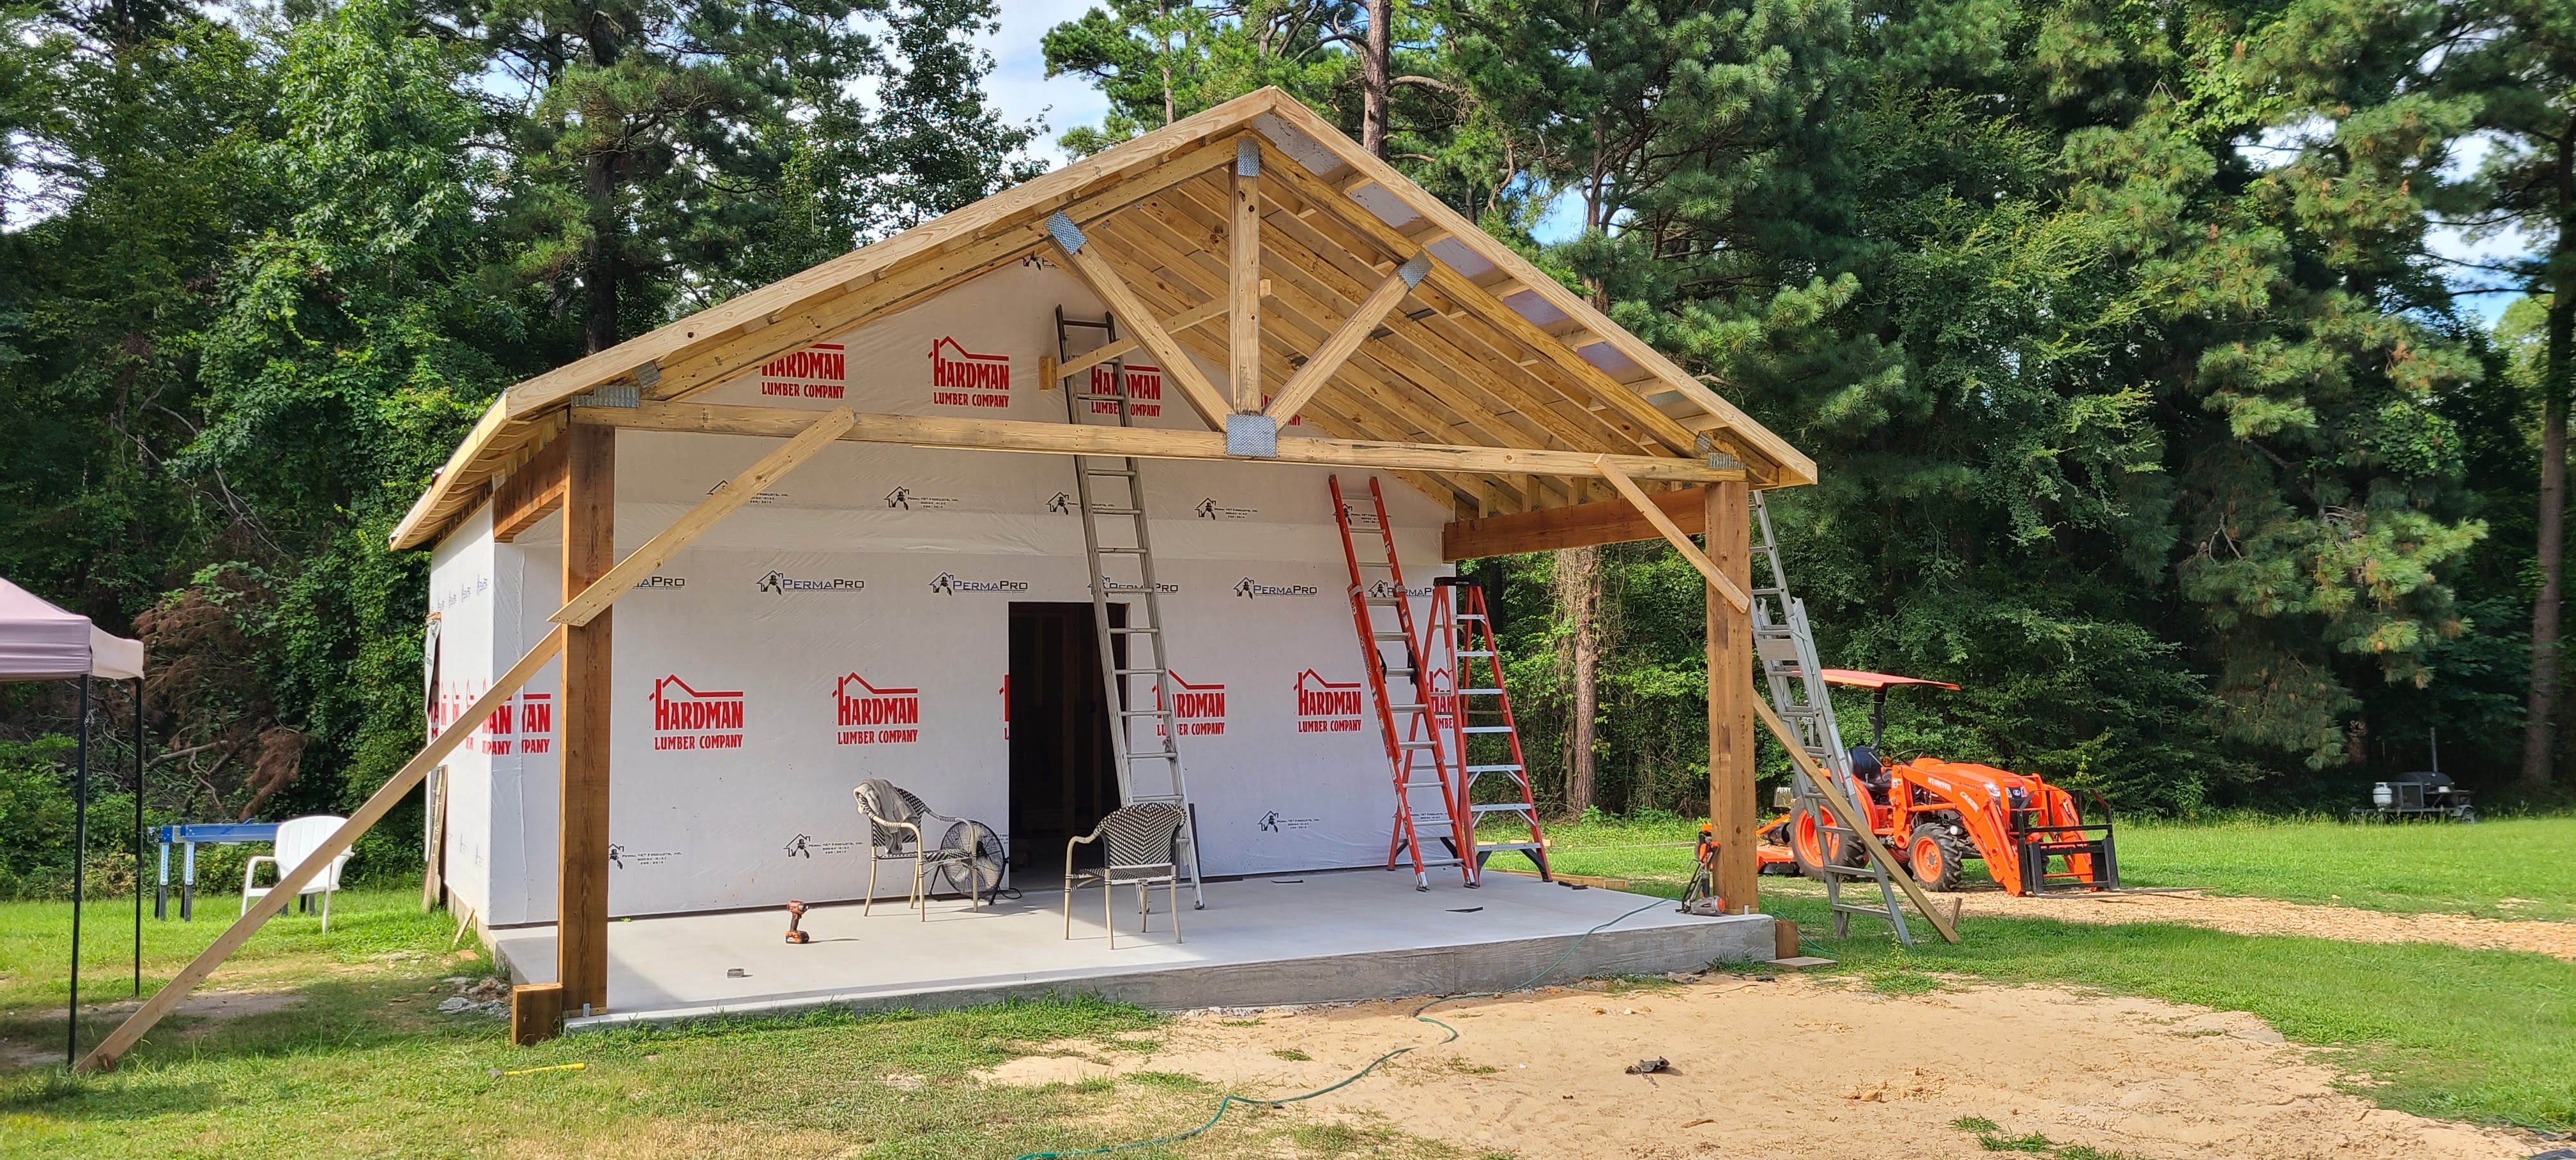
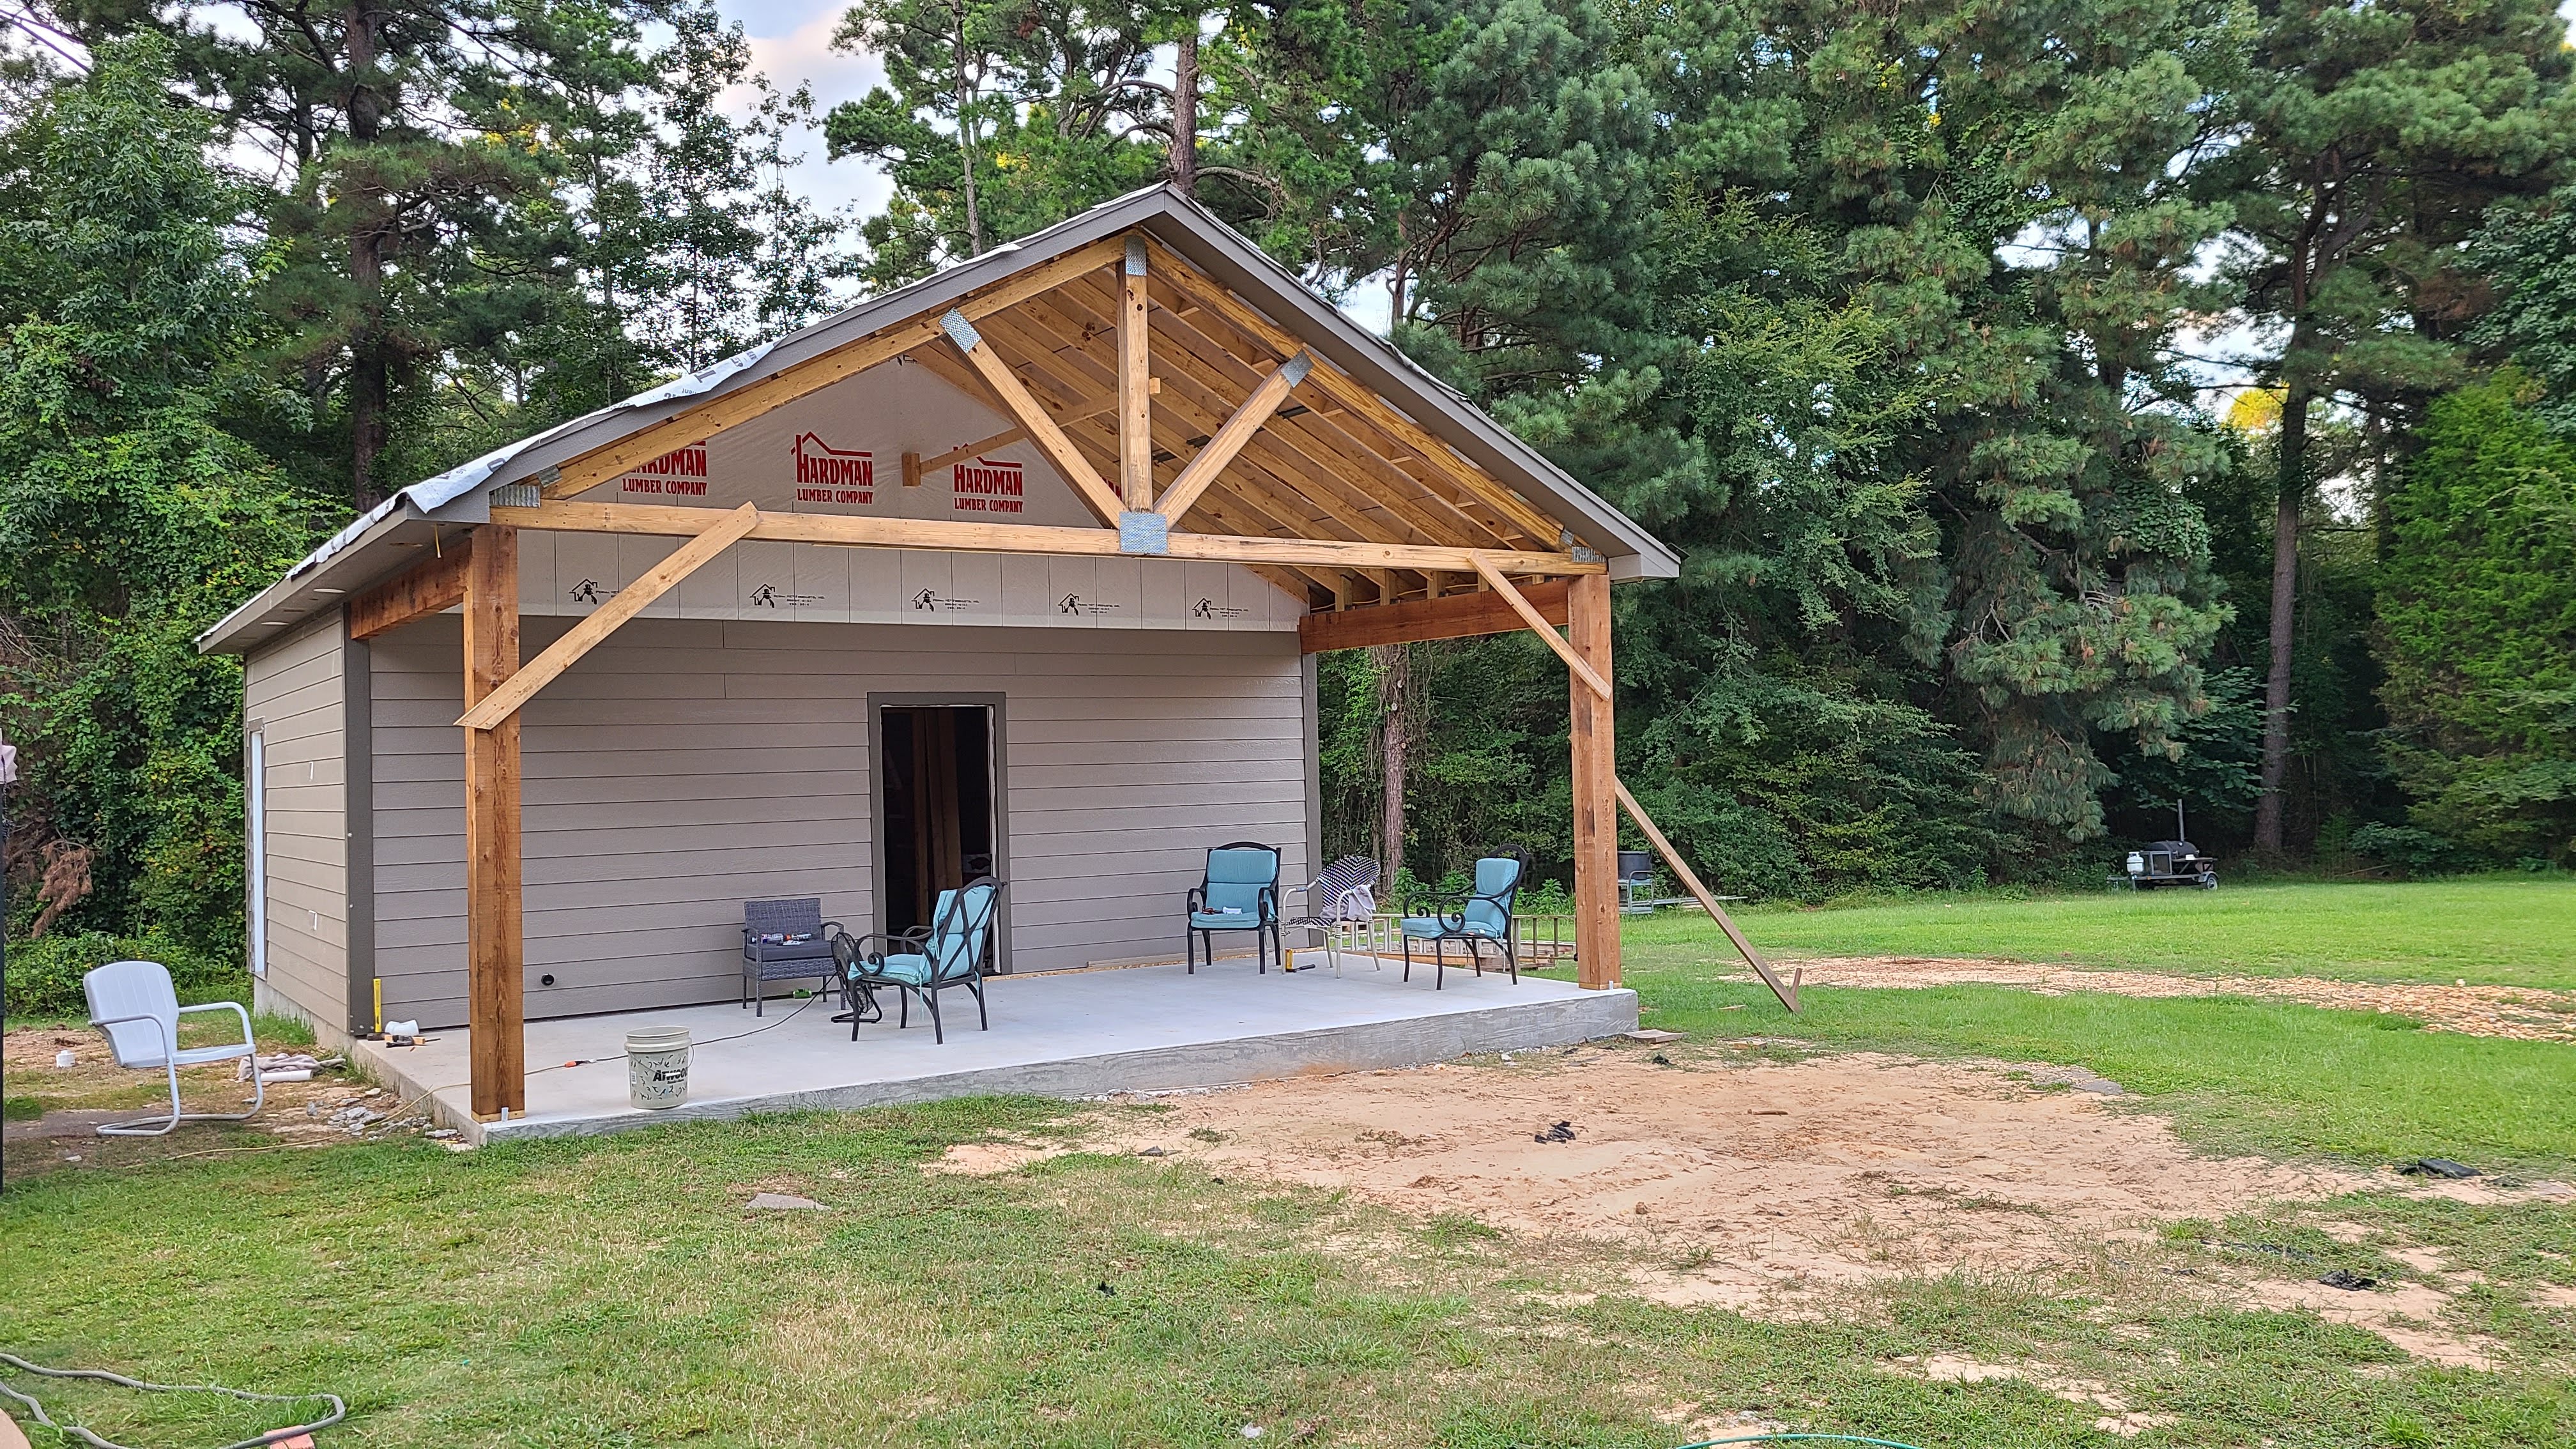
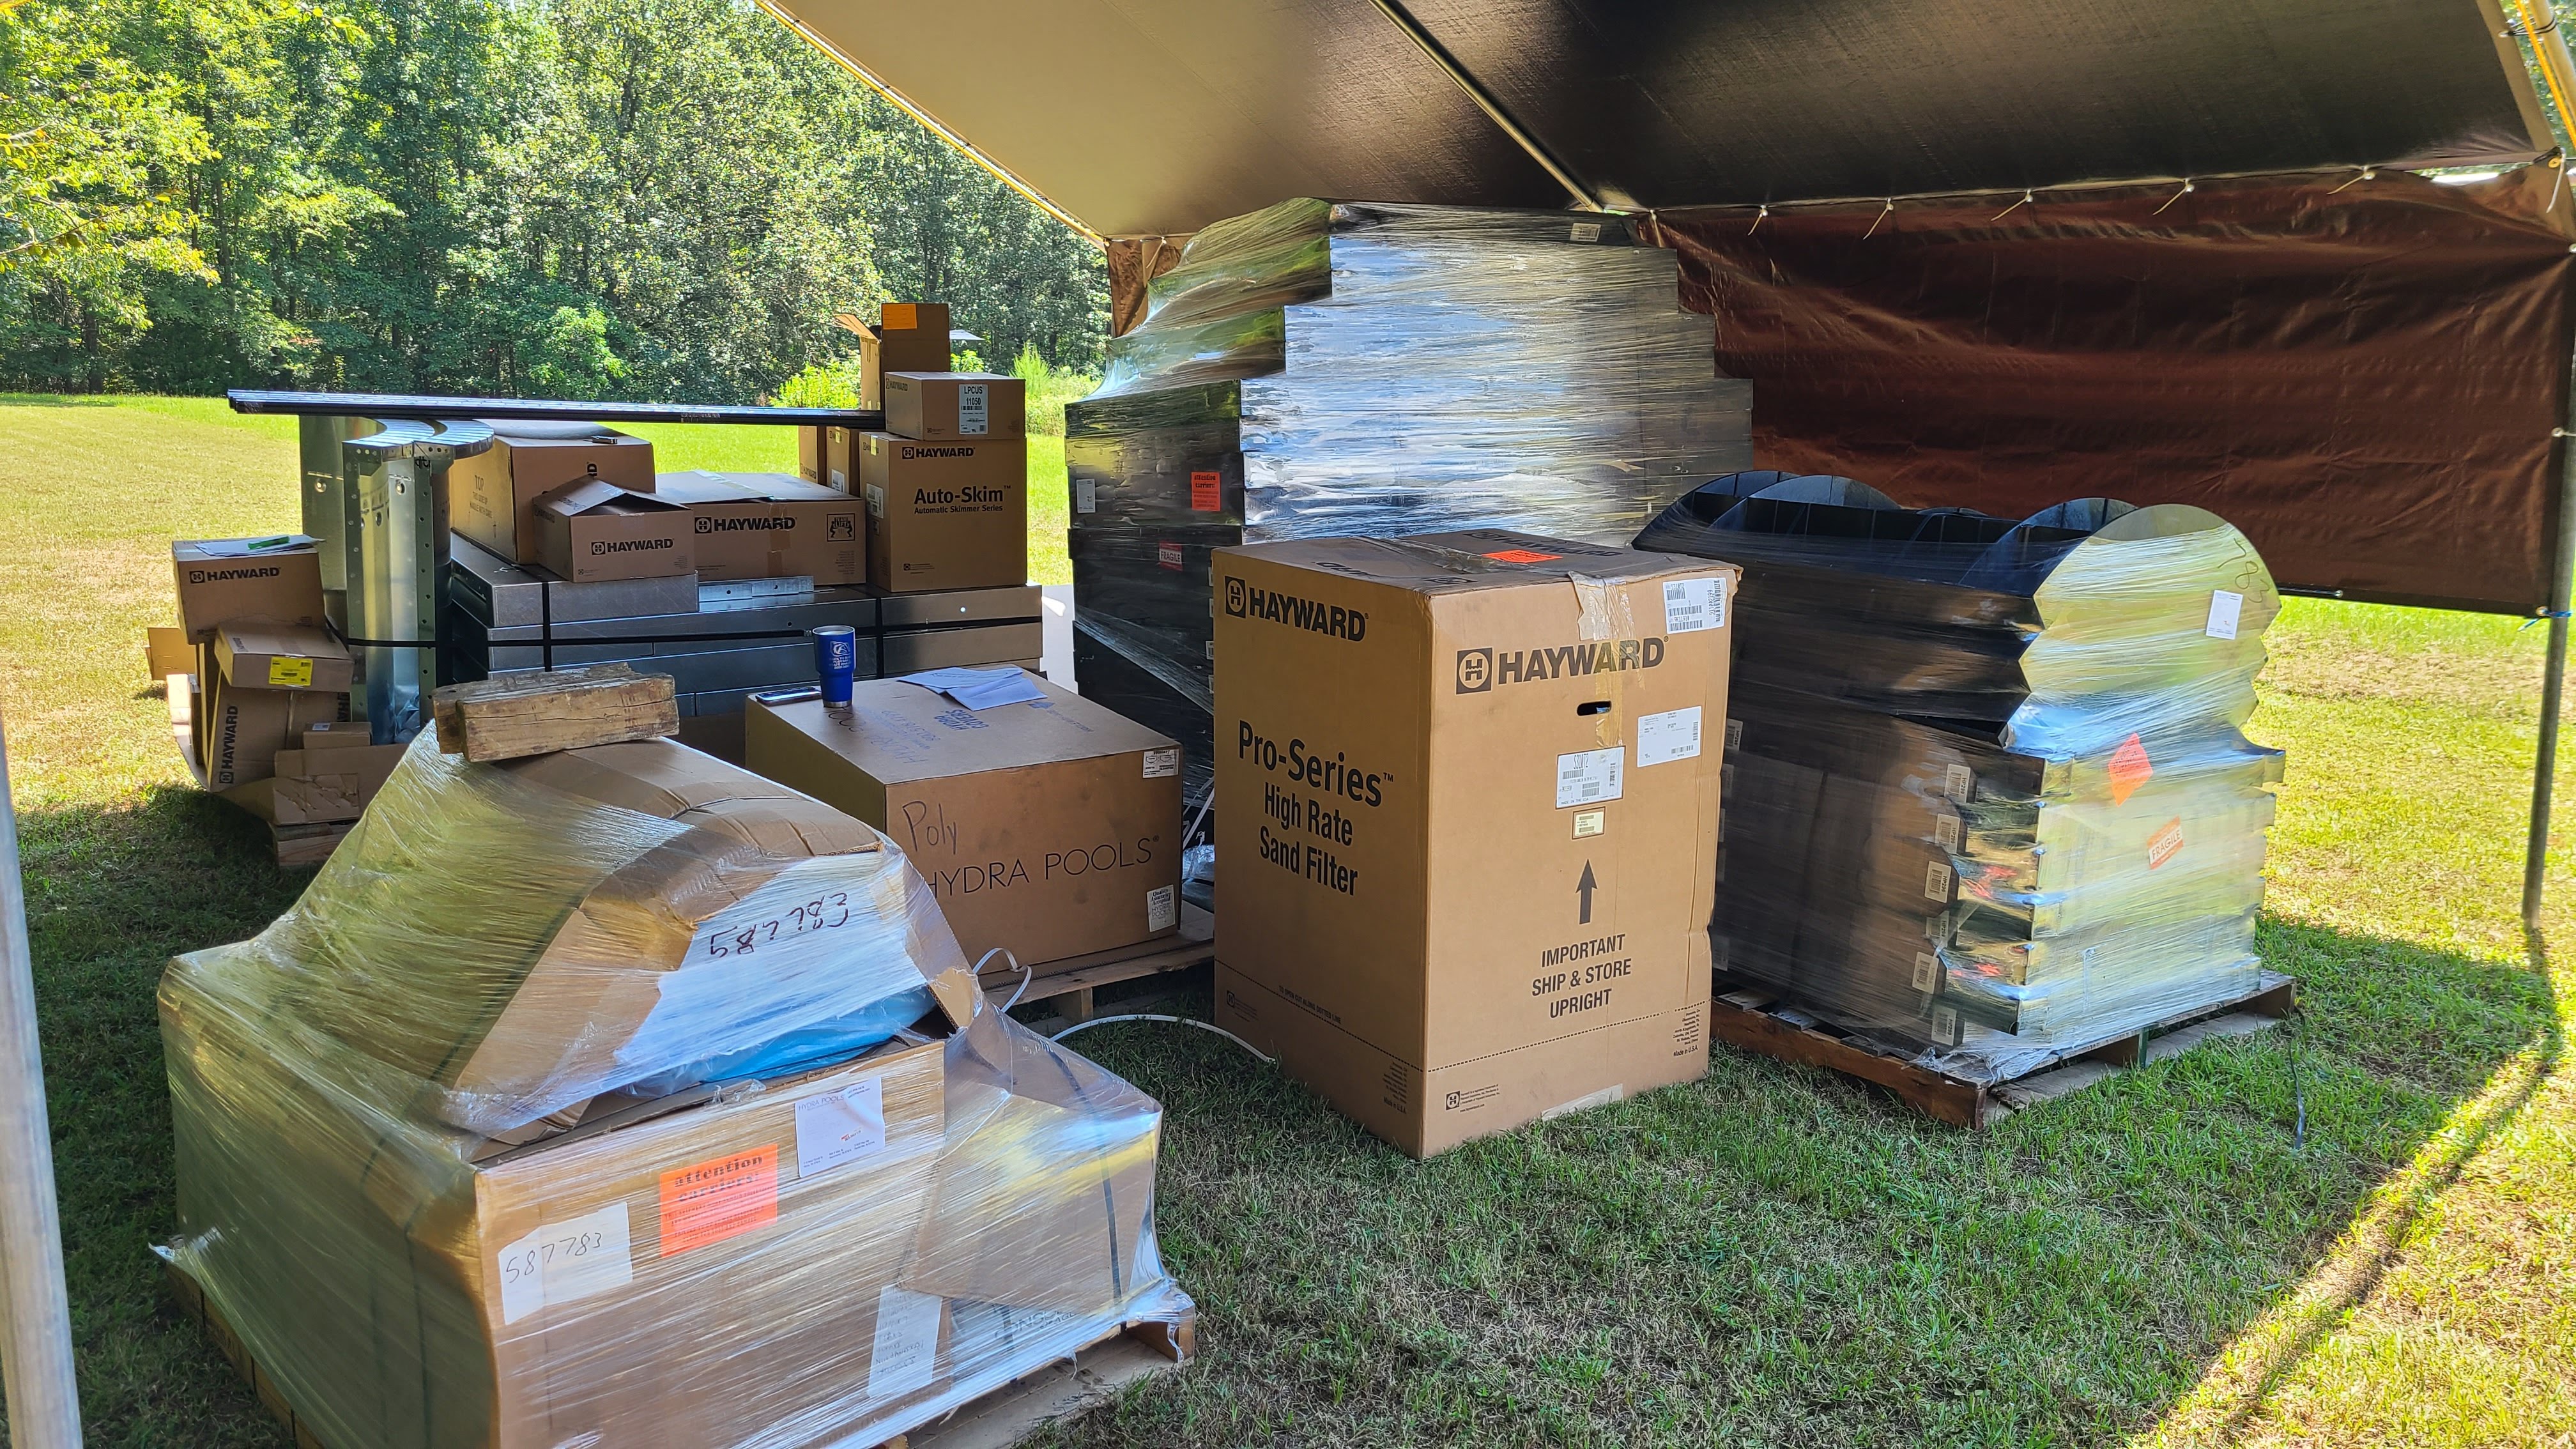
I was making good progress on the pool house, almost had the outside finished and on August 24th my pool kit arrived. After doing an inventory, I was missing a few items related to the sun deck. It took about 2 weeks to get in the missing parts and another week to get a track hoe lined out to start the dig.


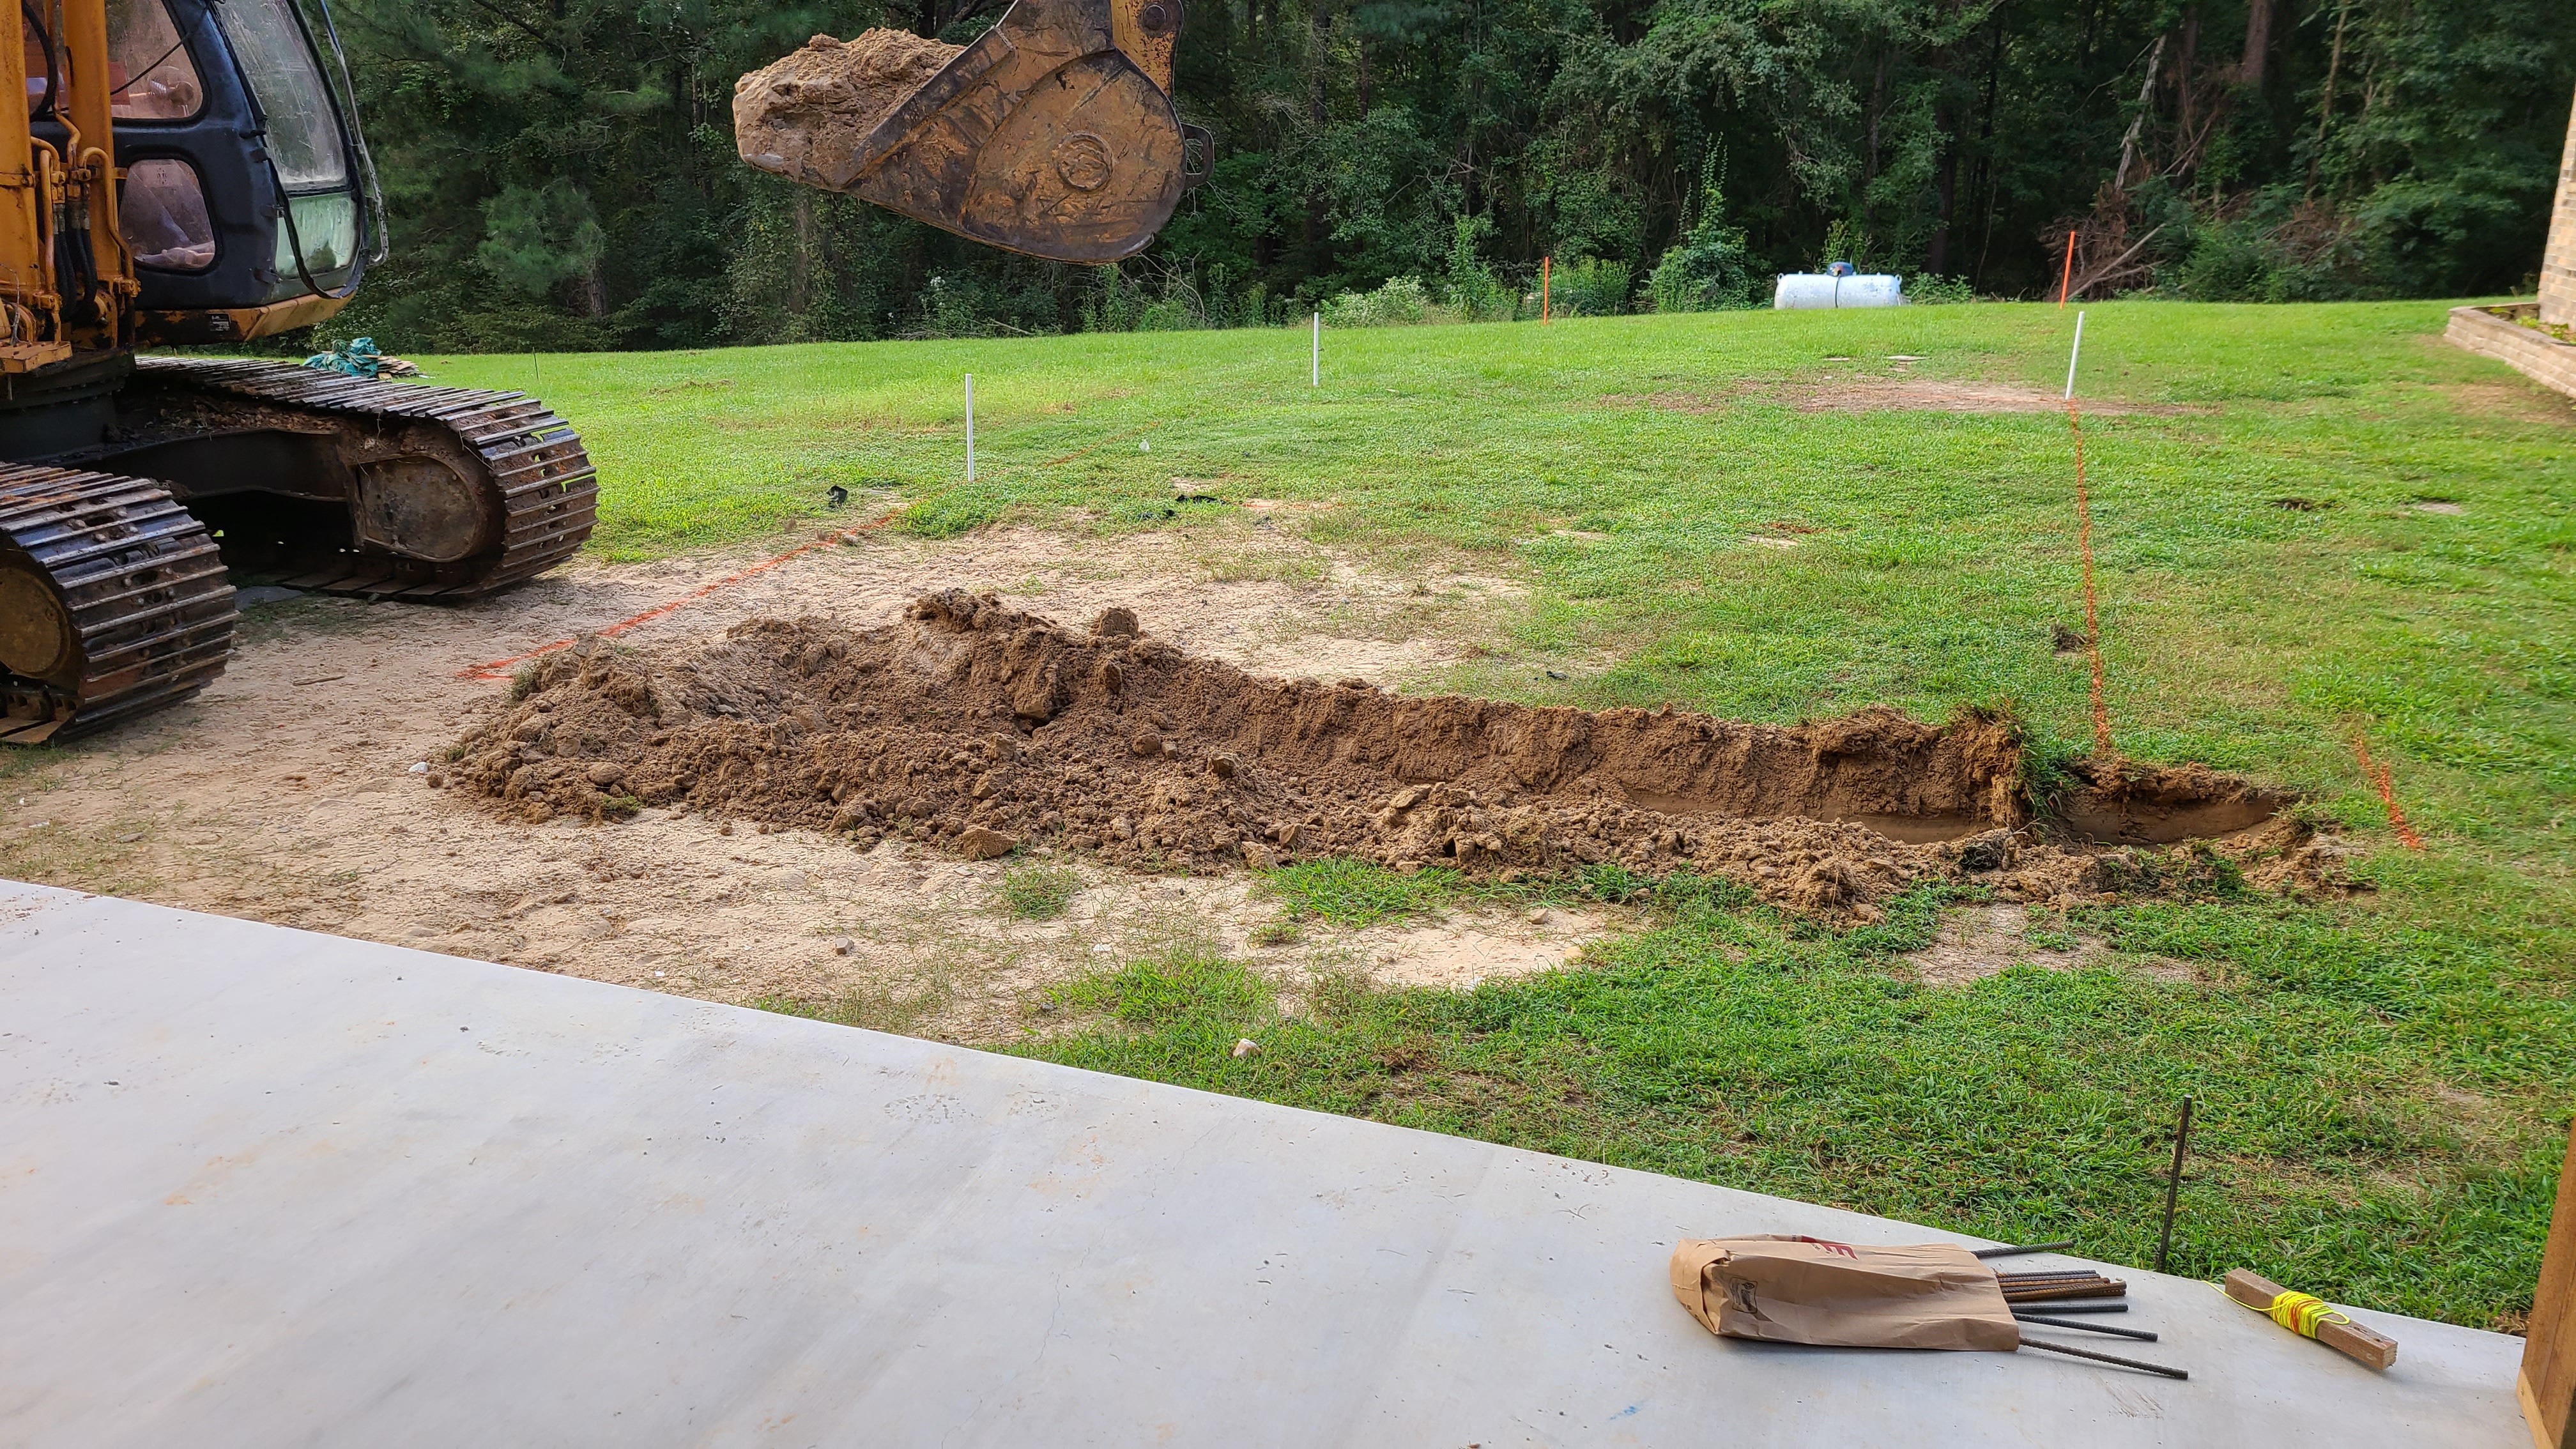
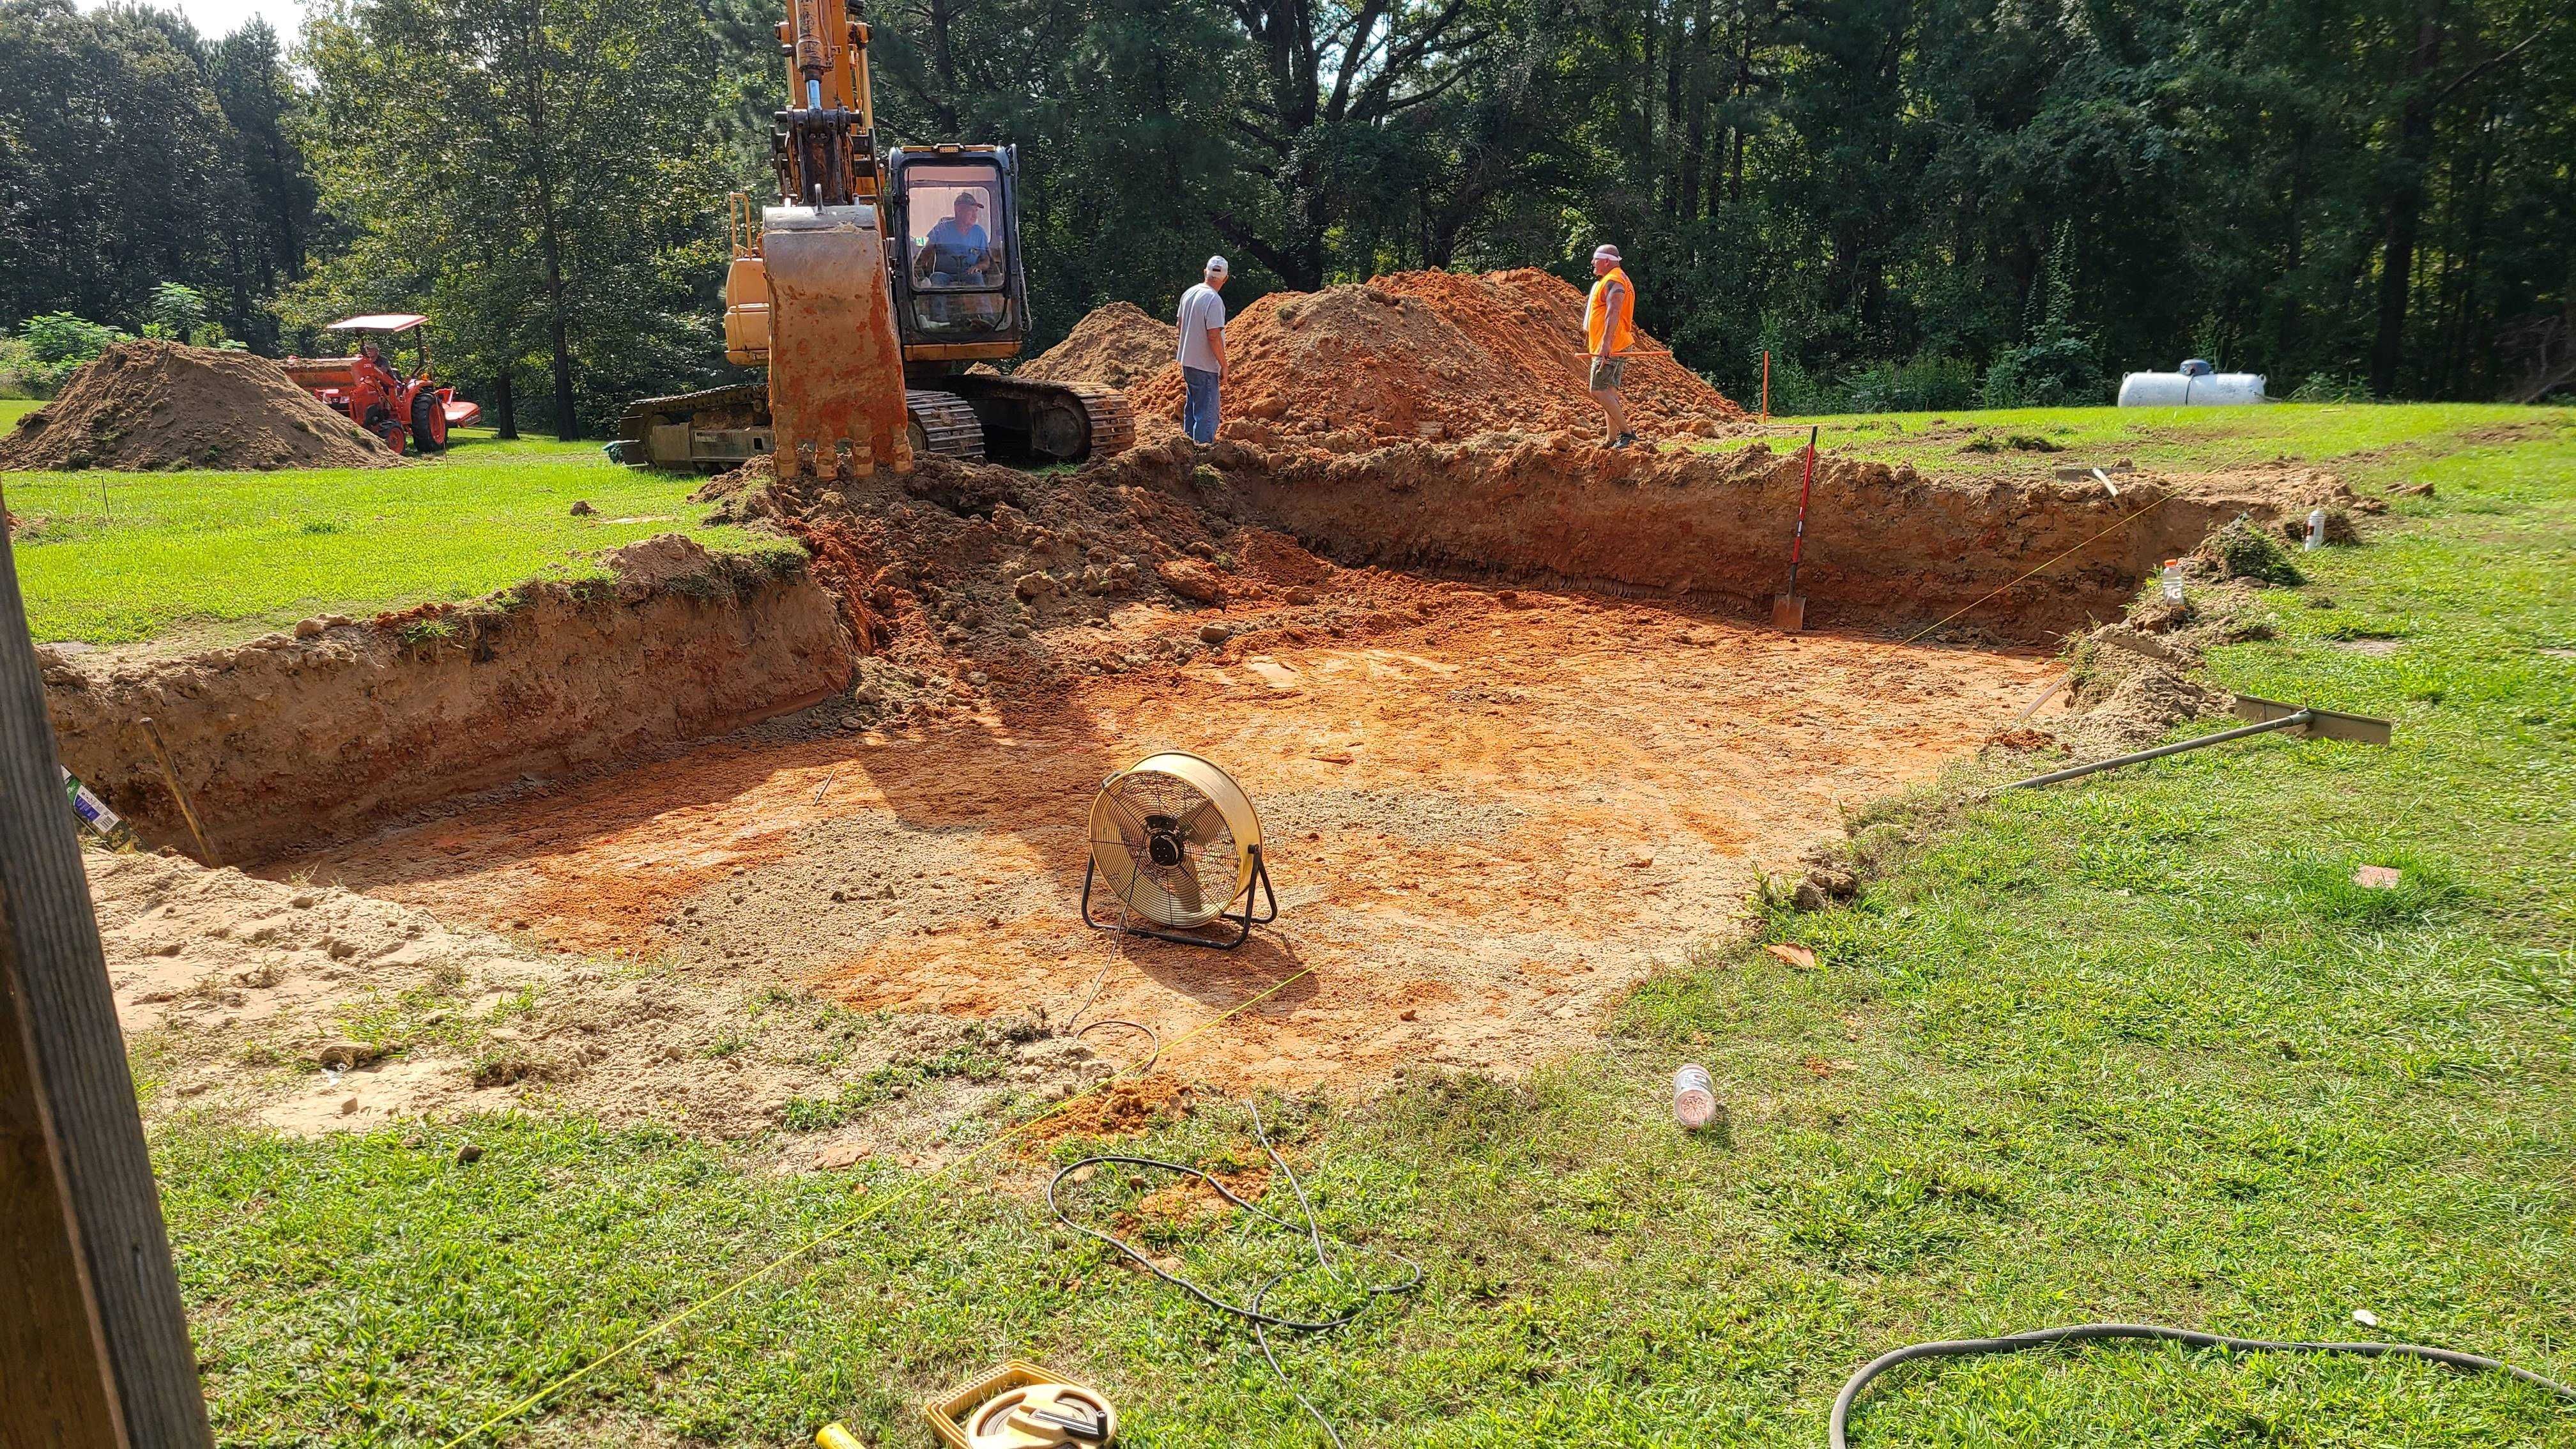
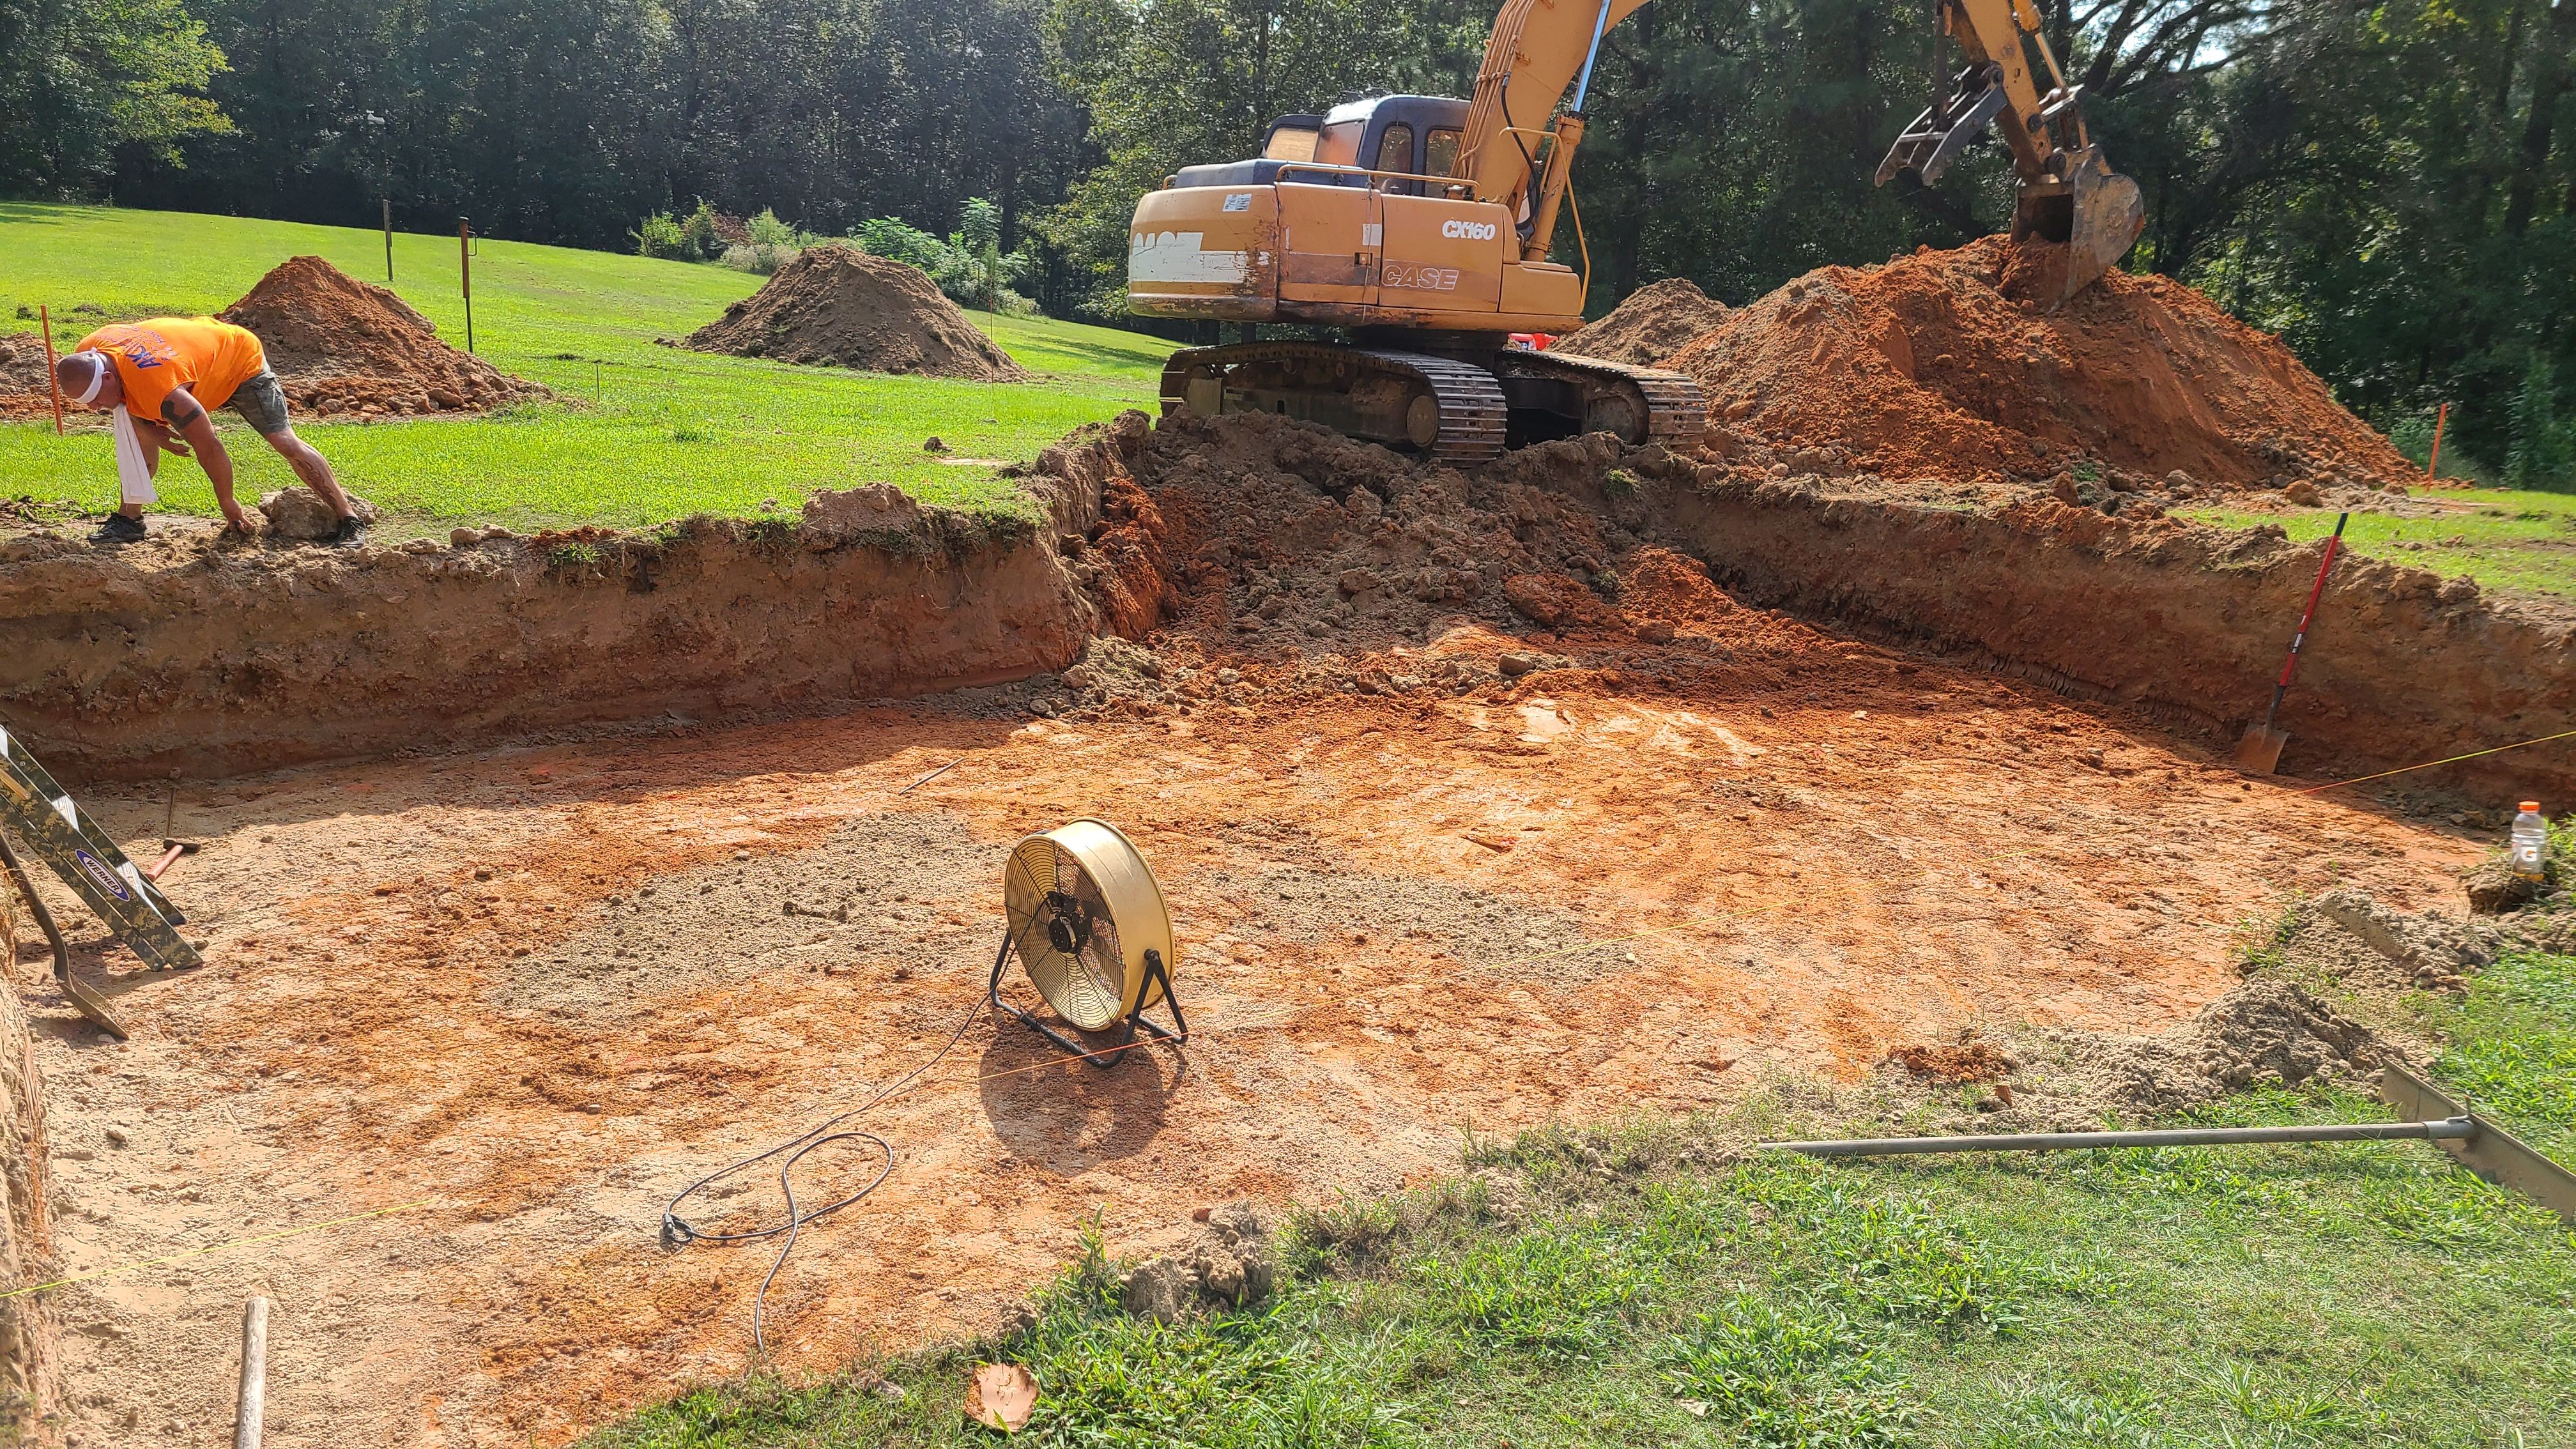
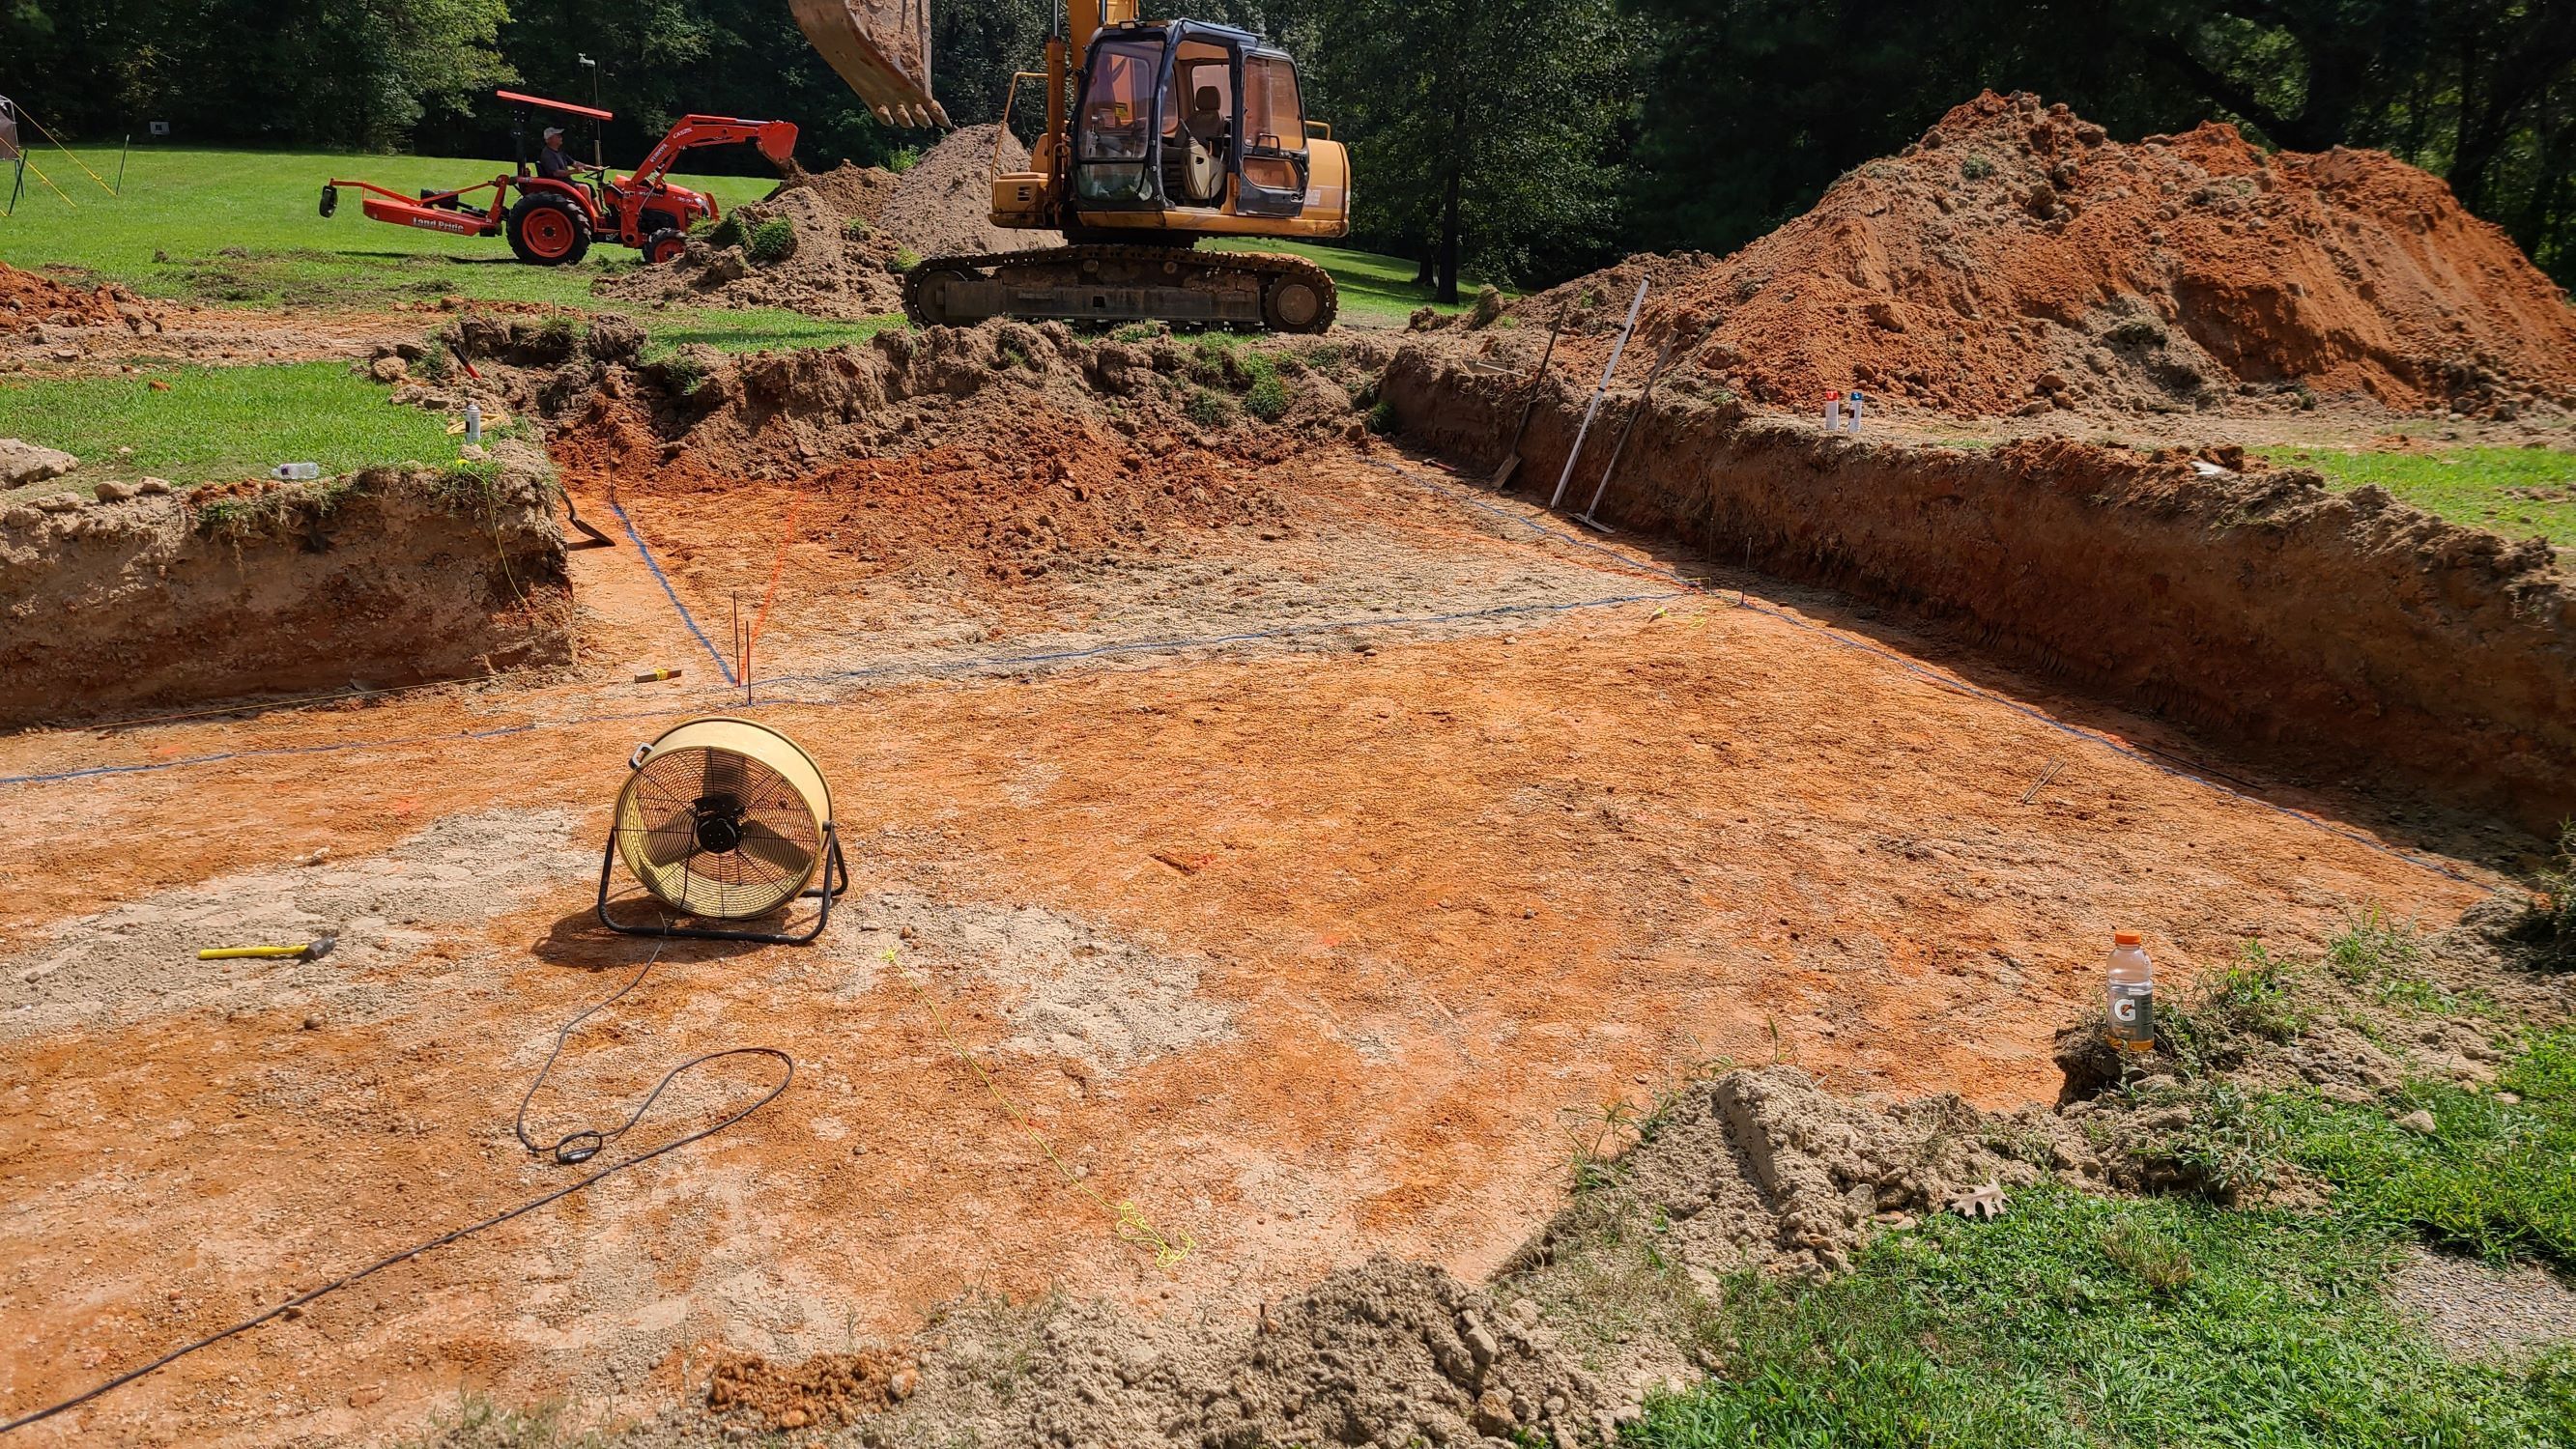
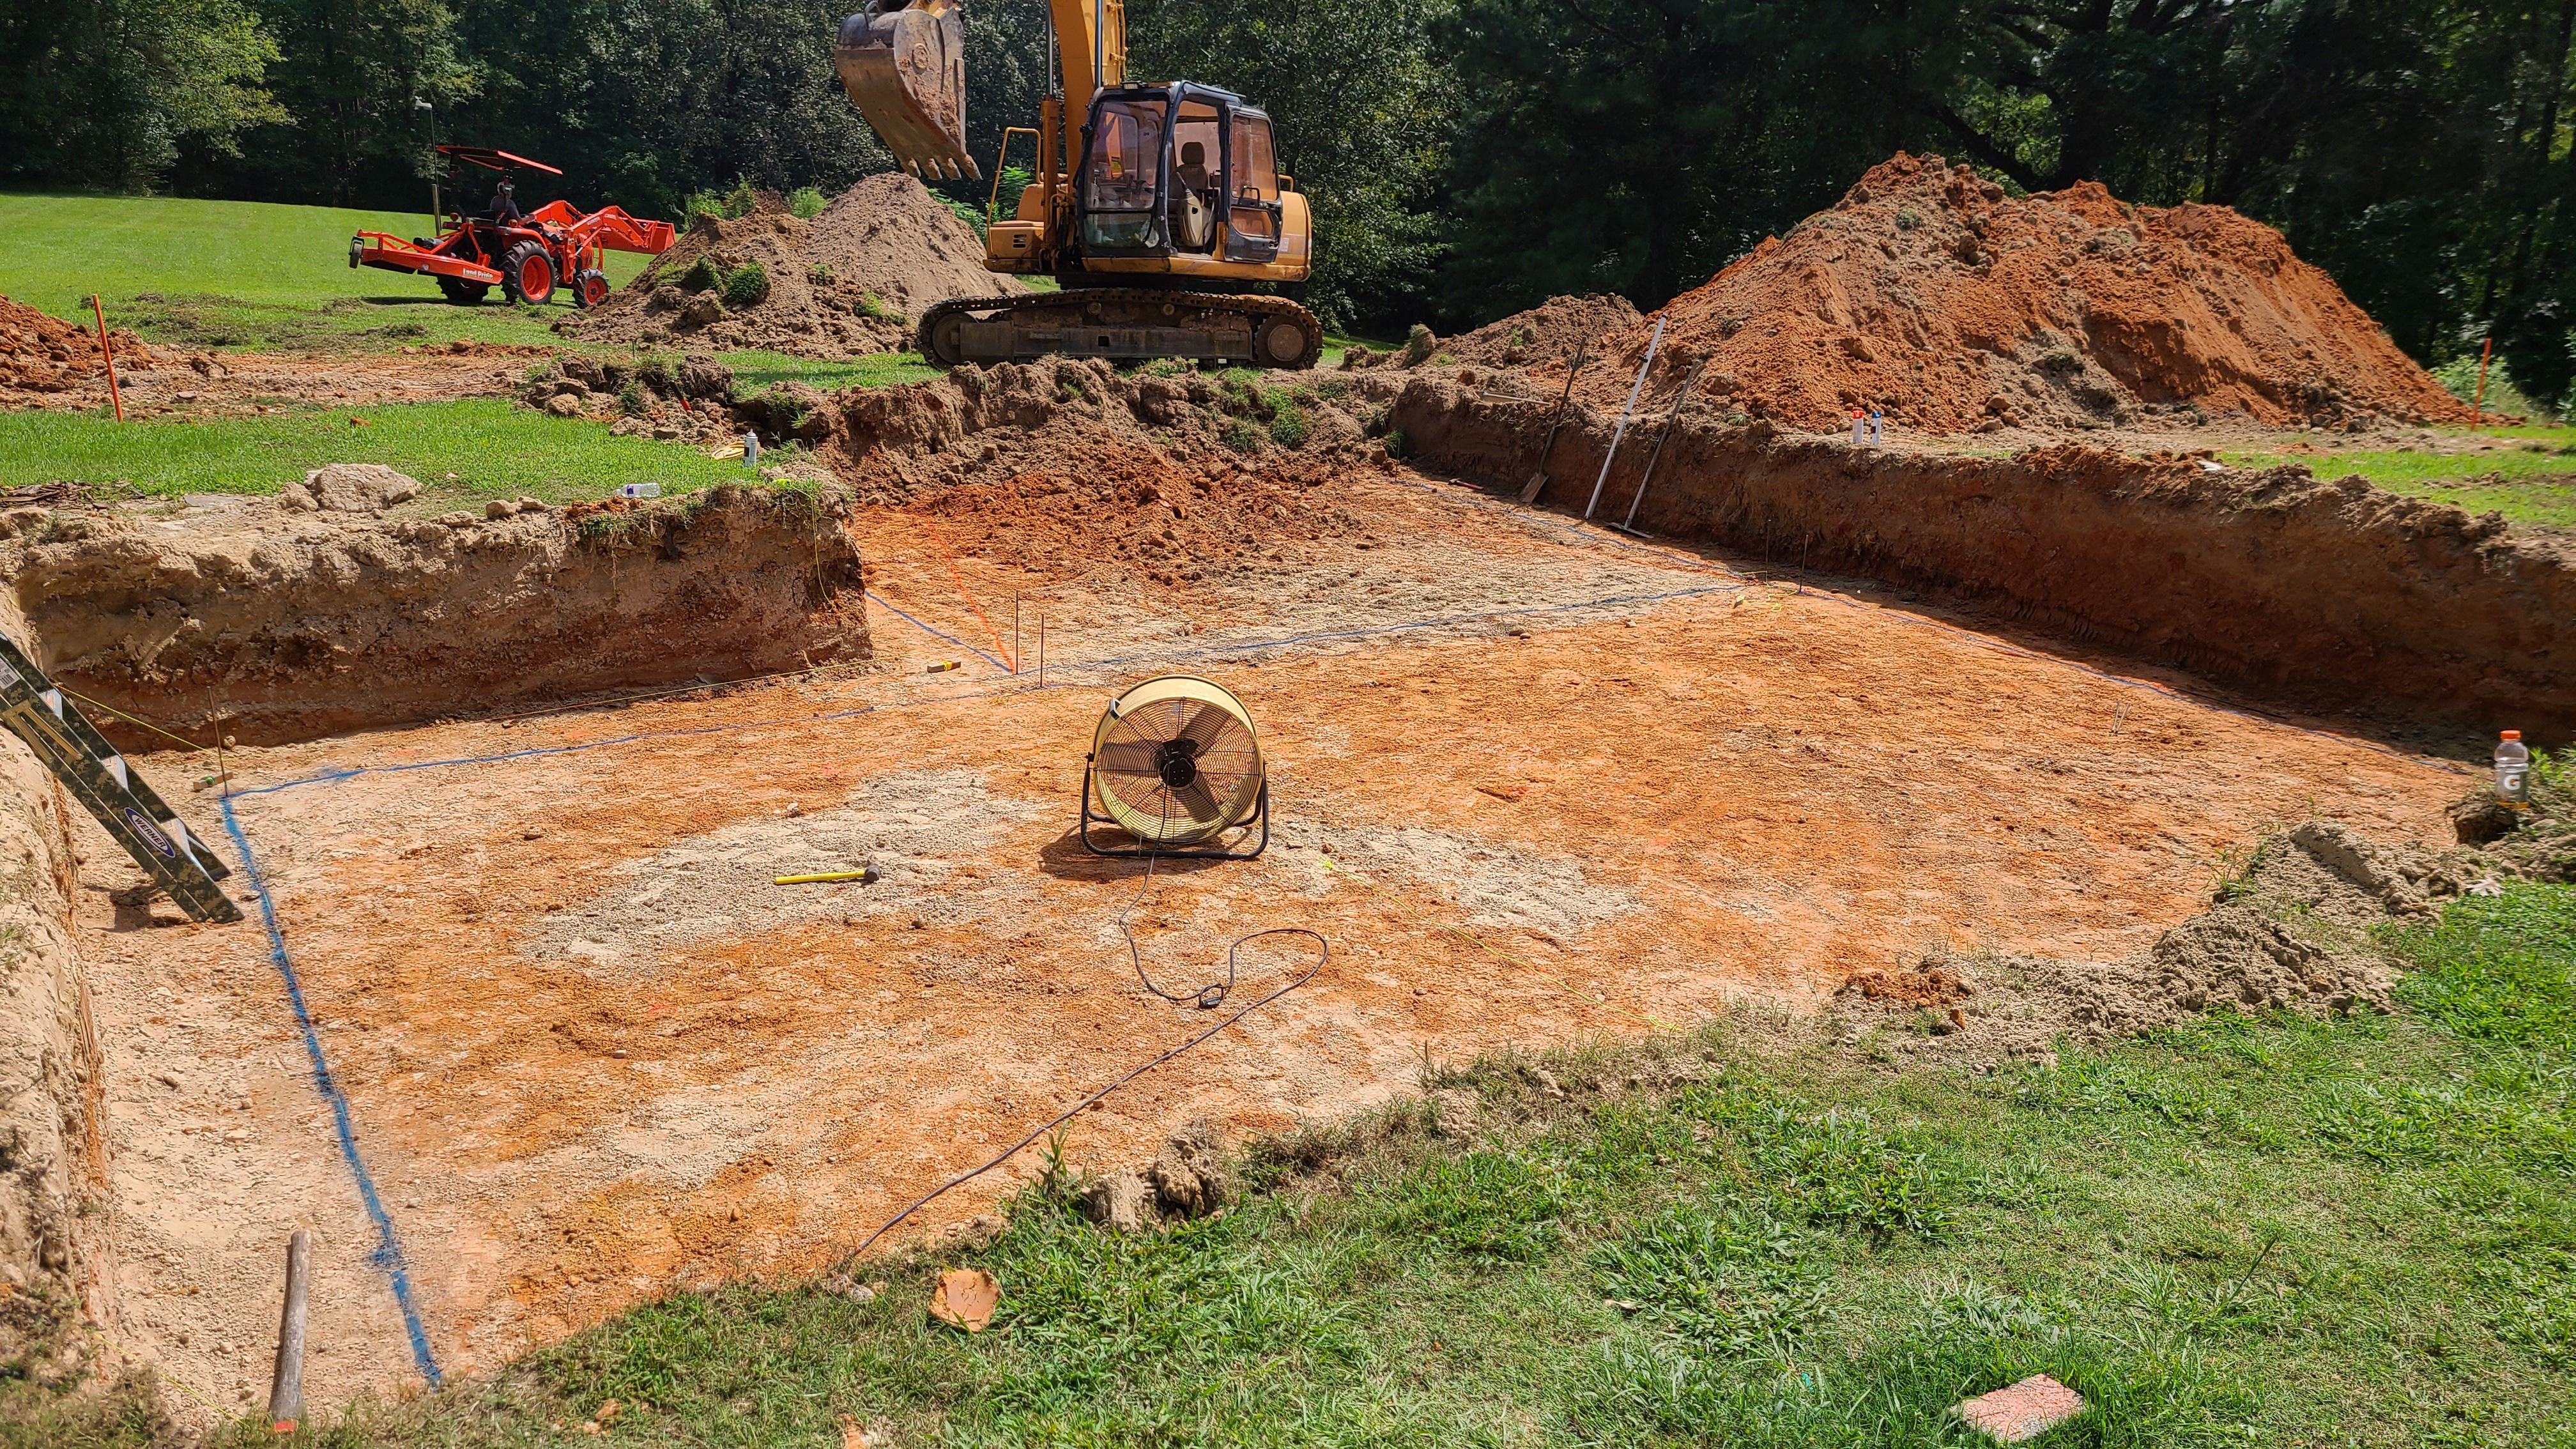
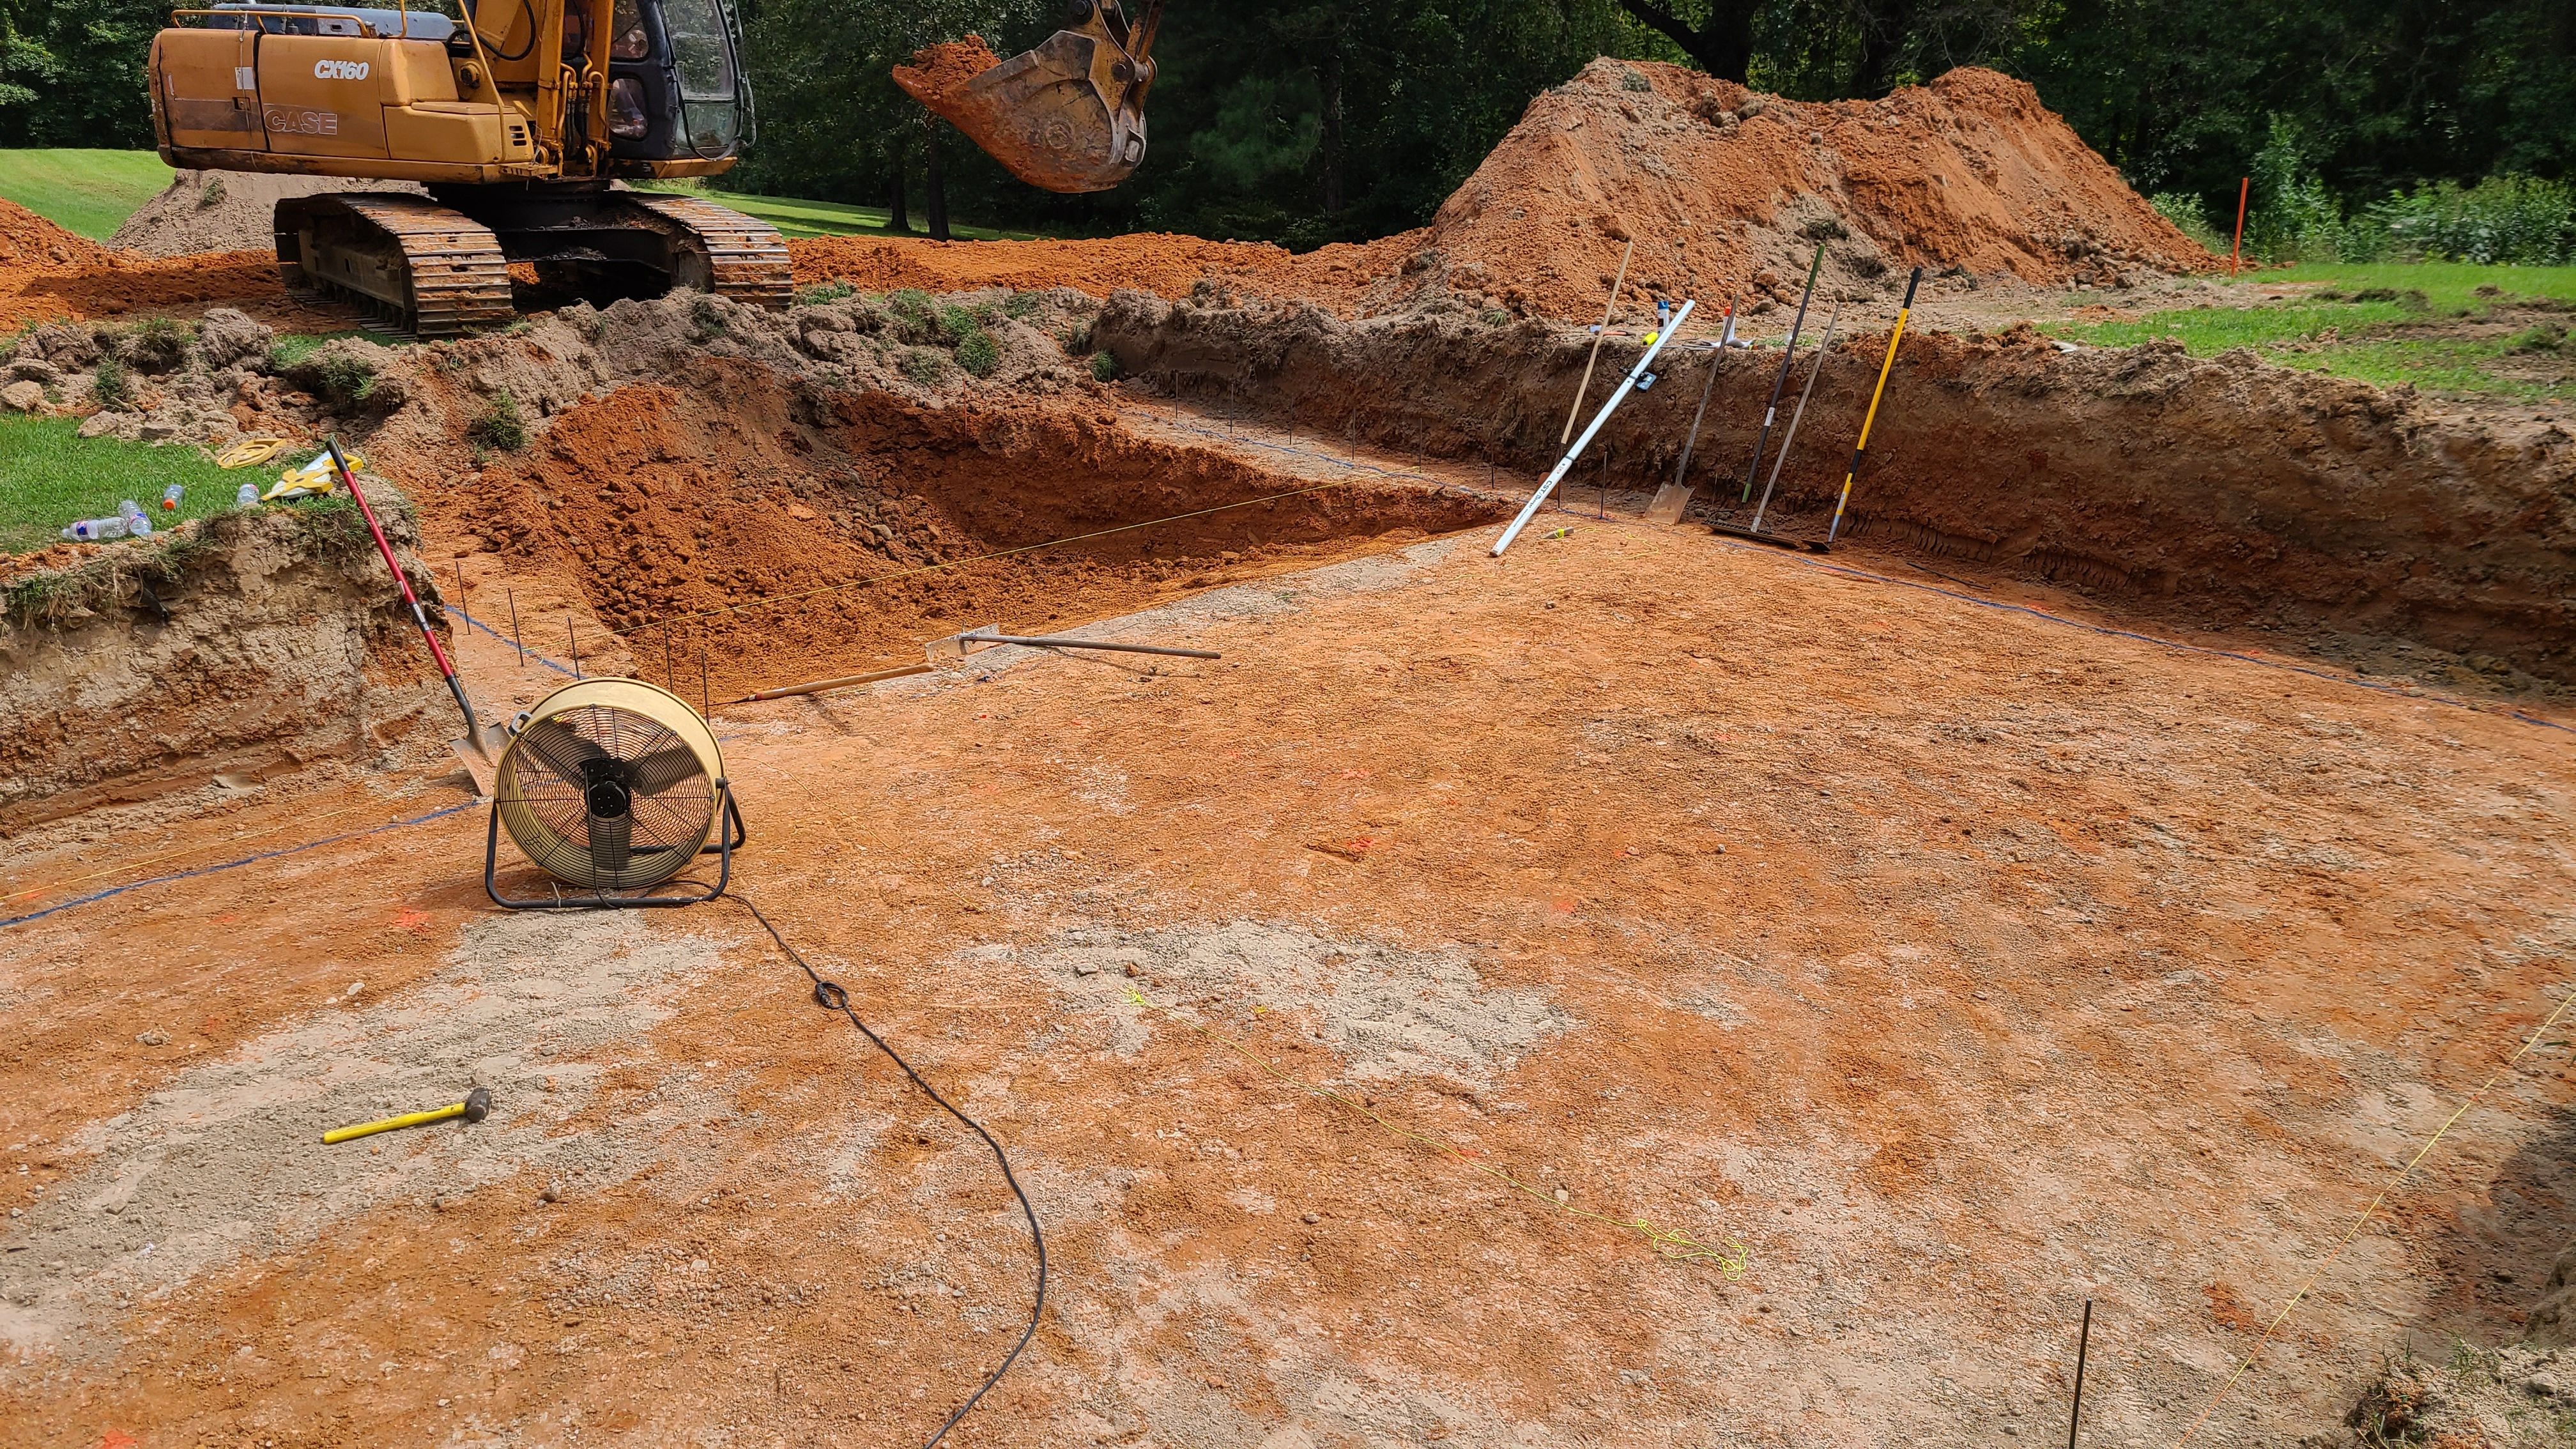
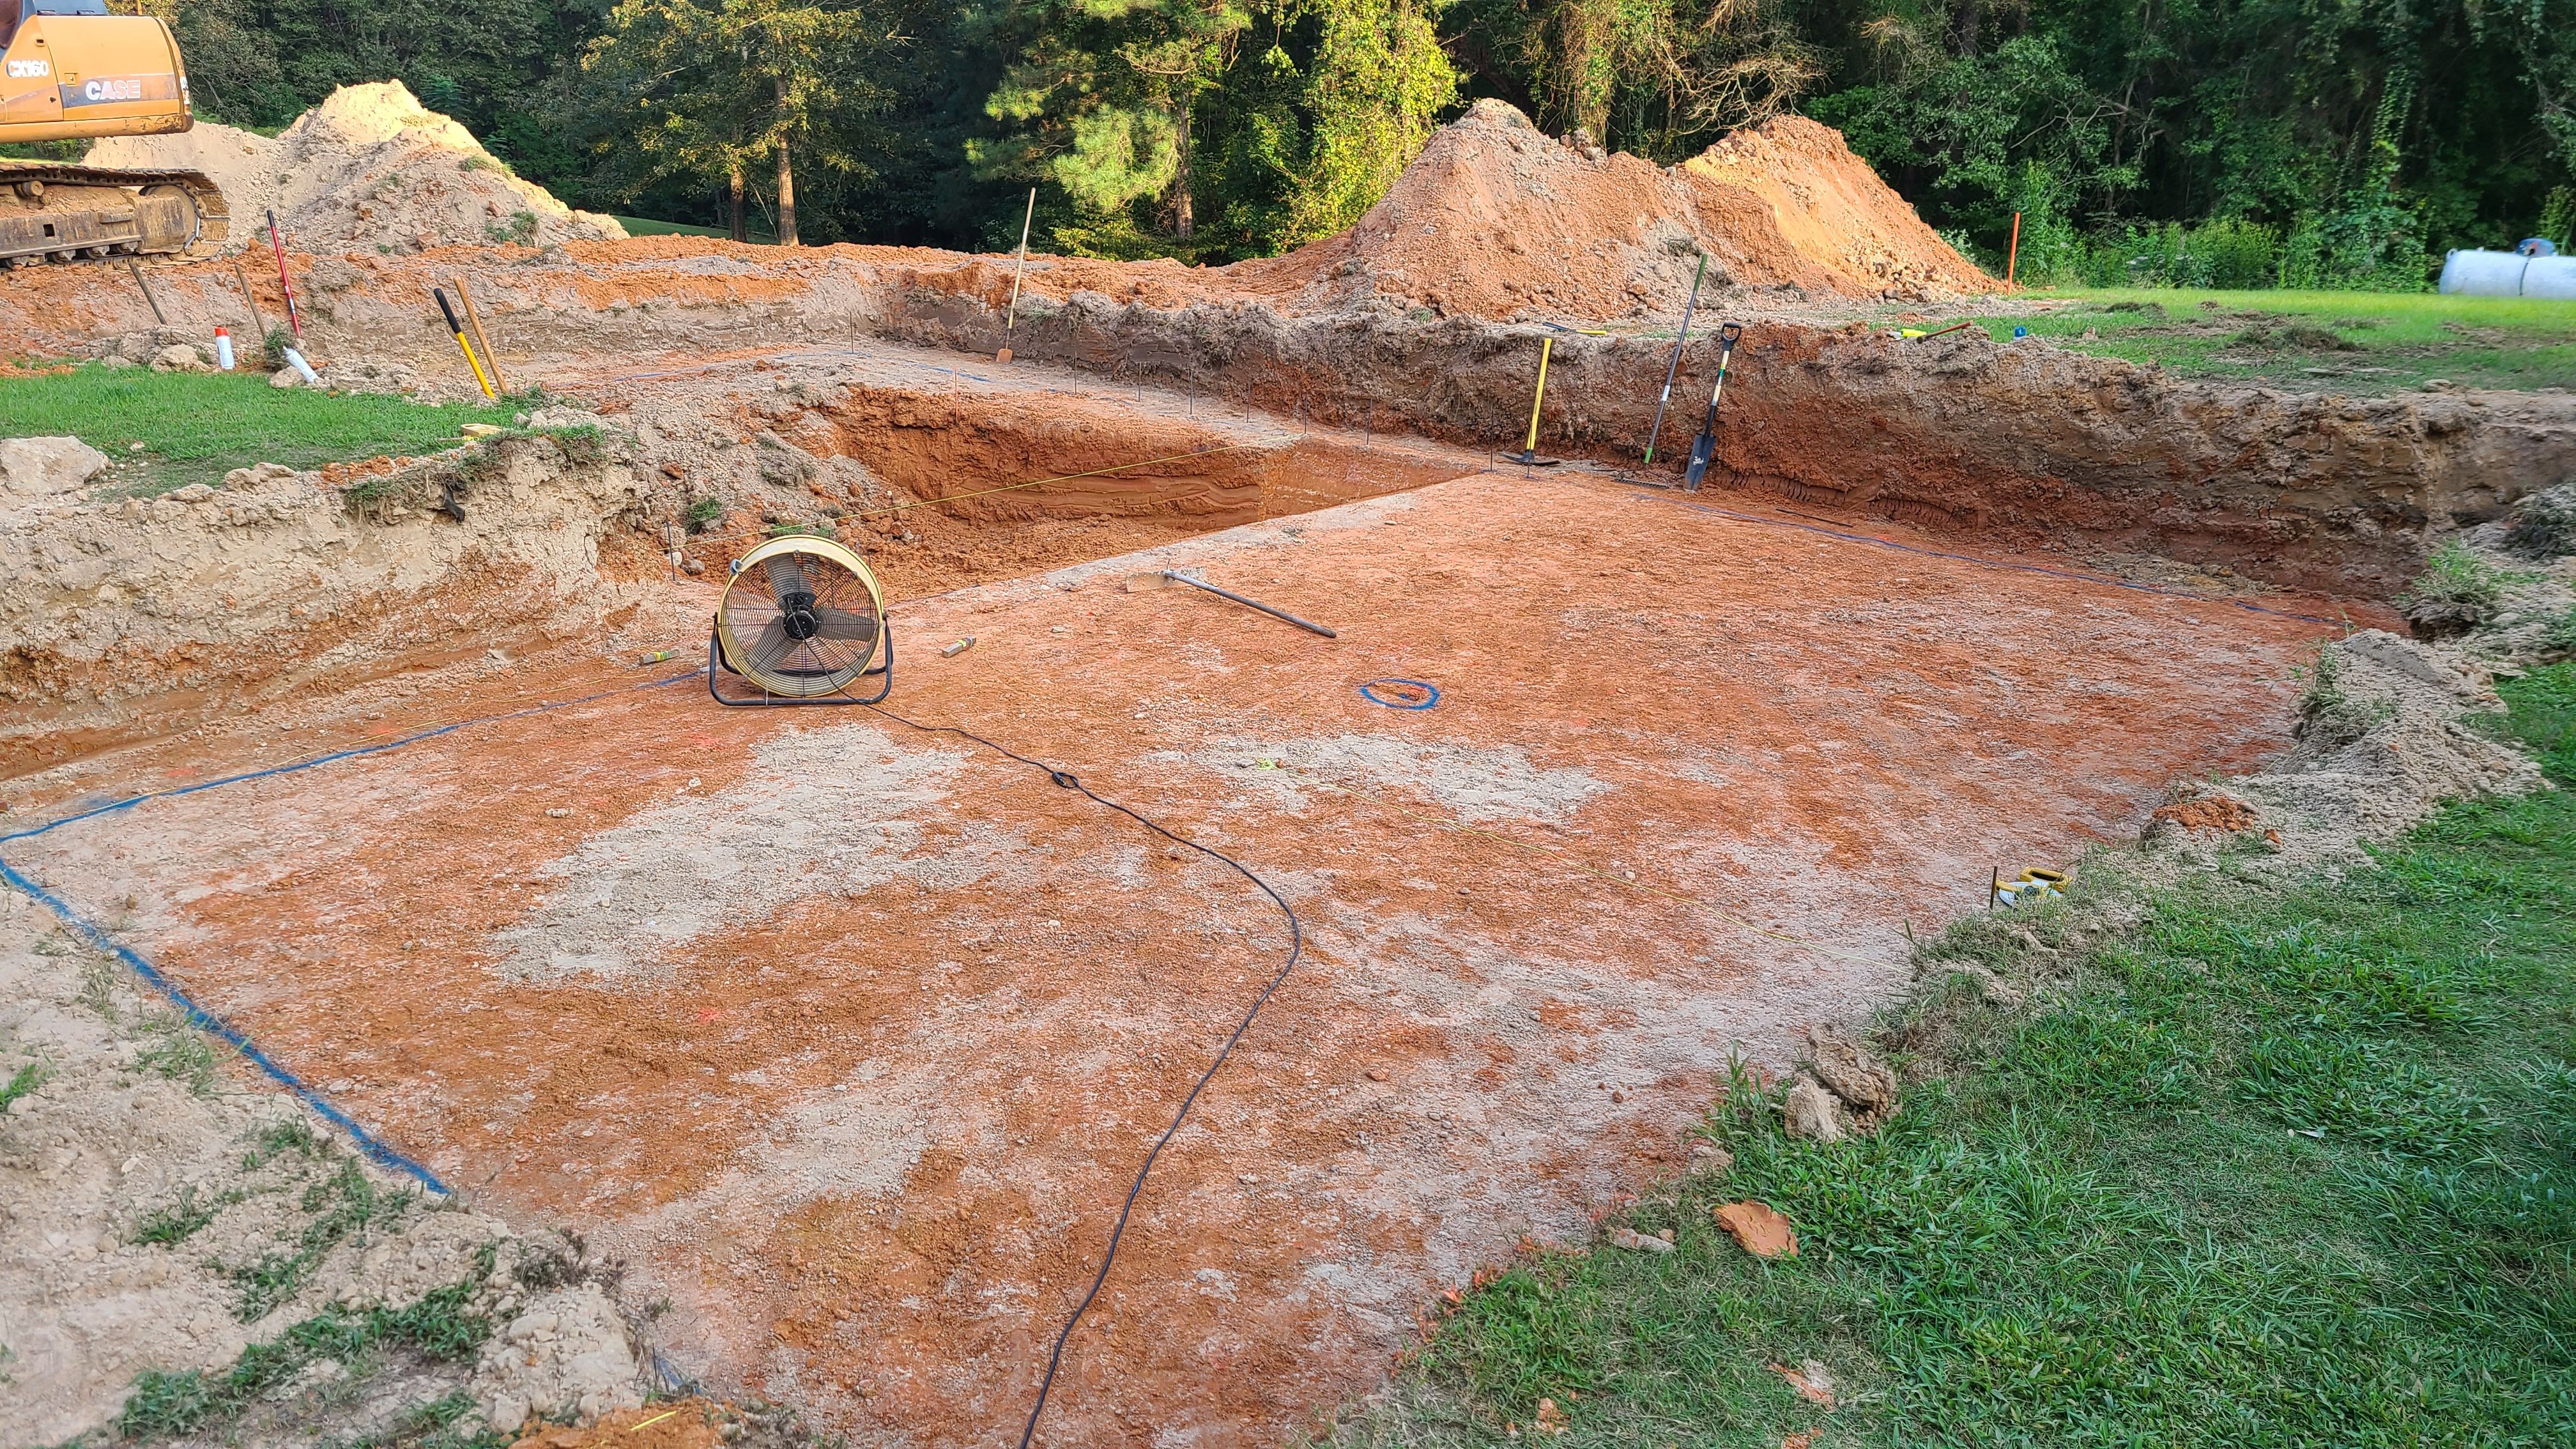
I took a week of vacation the day the dig started so I could get a good jump on it.
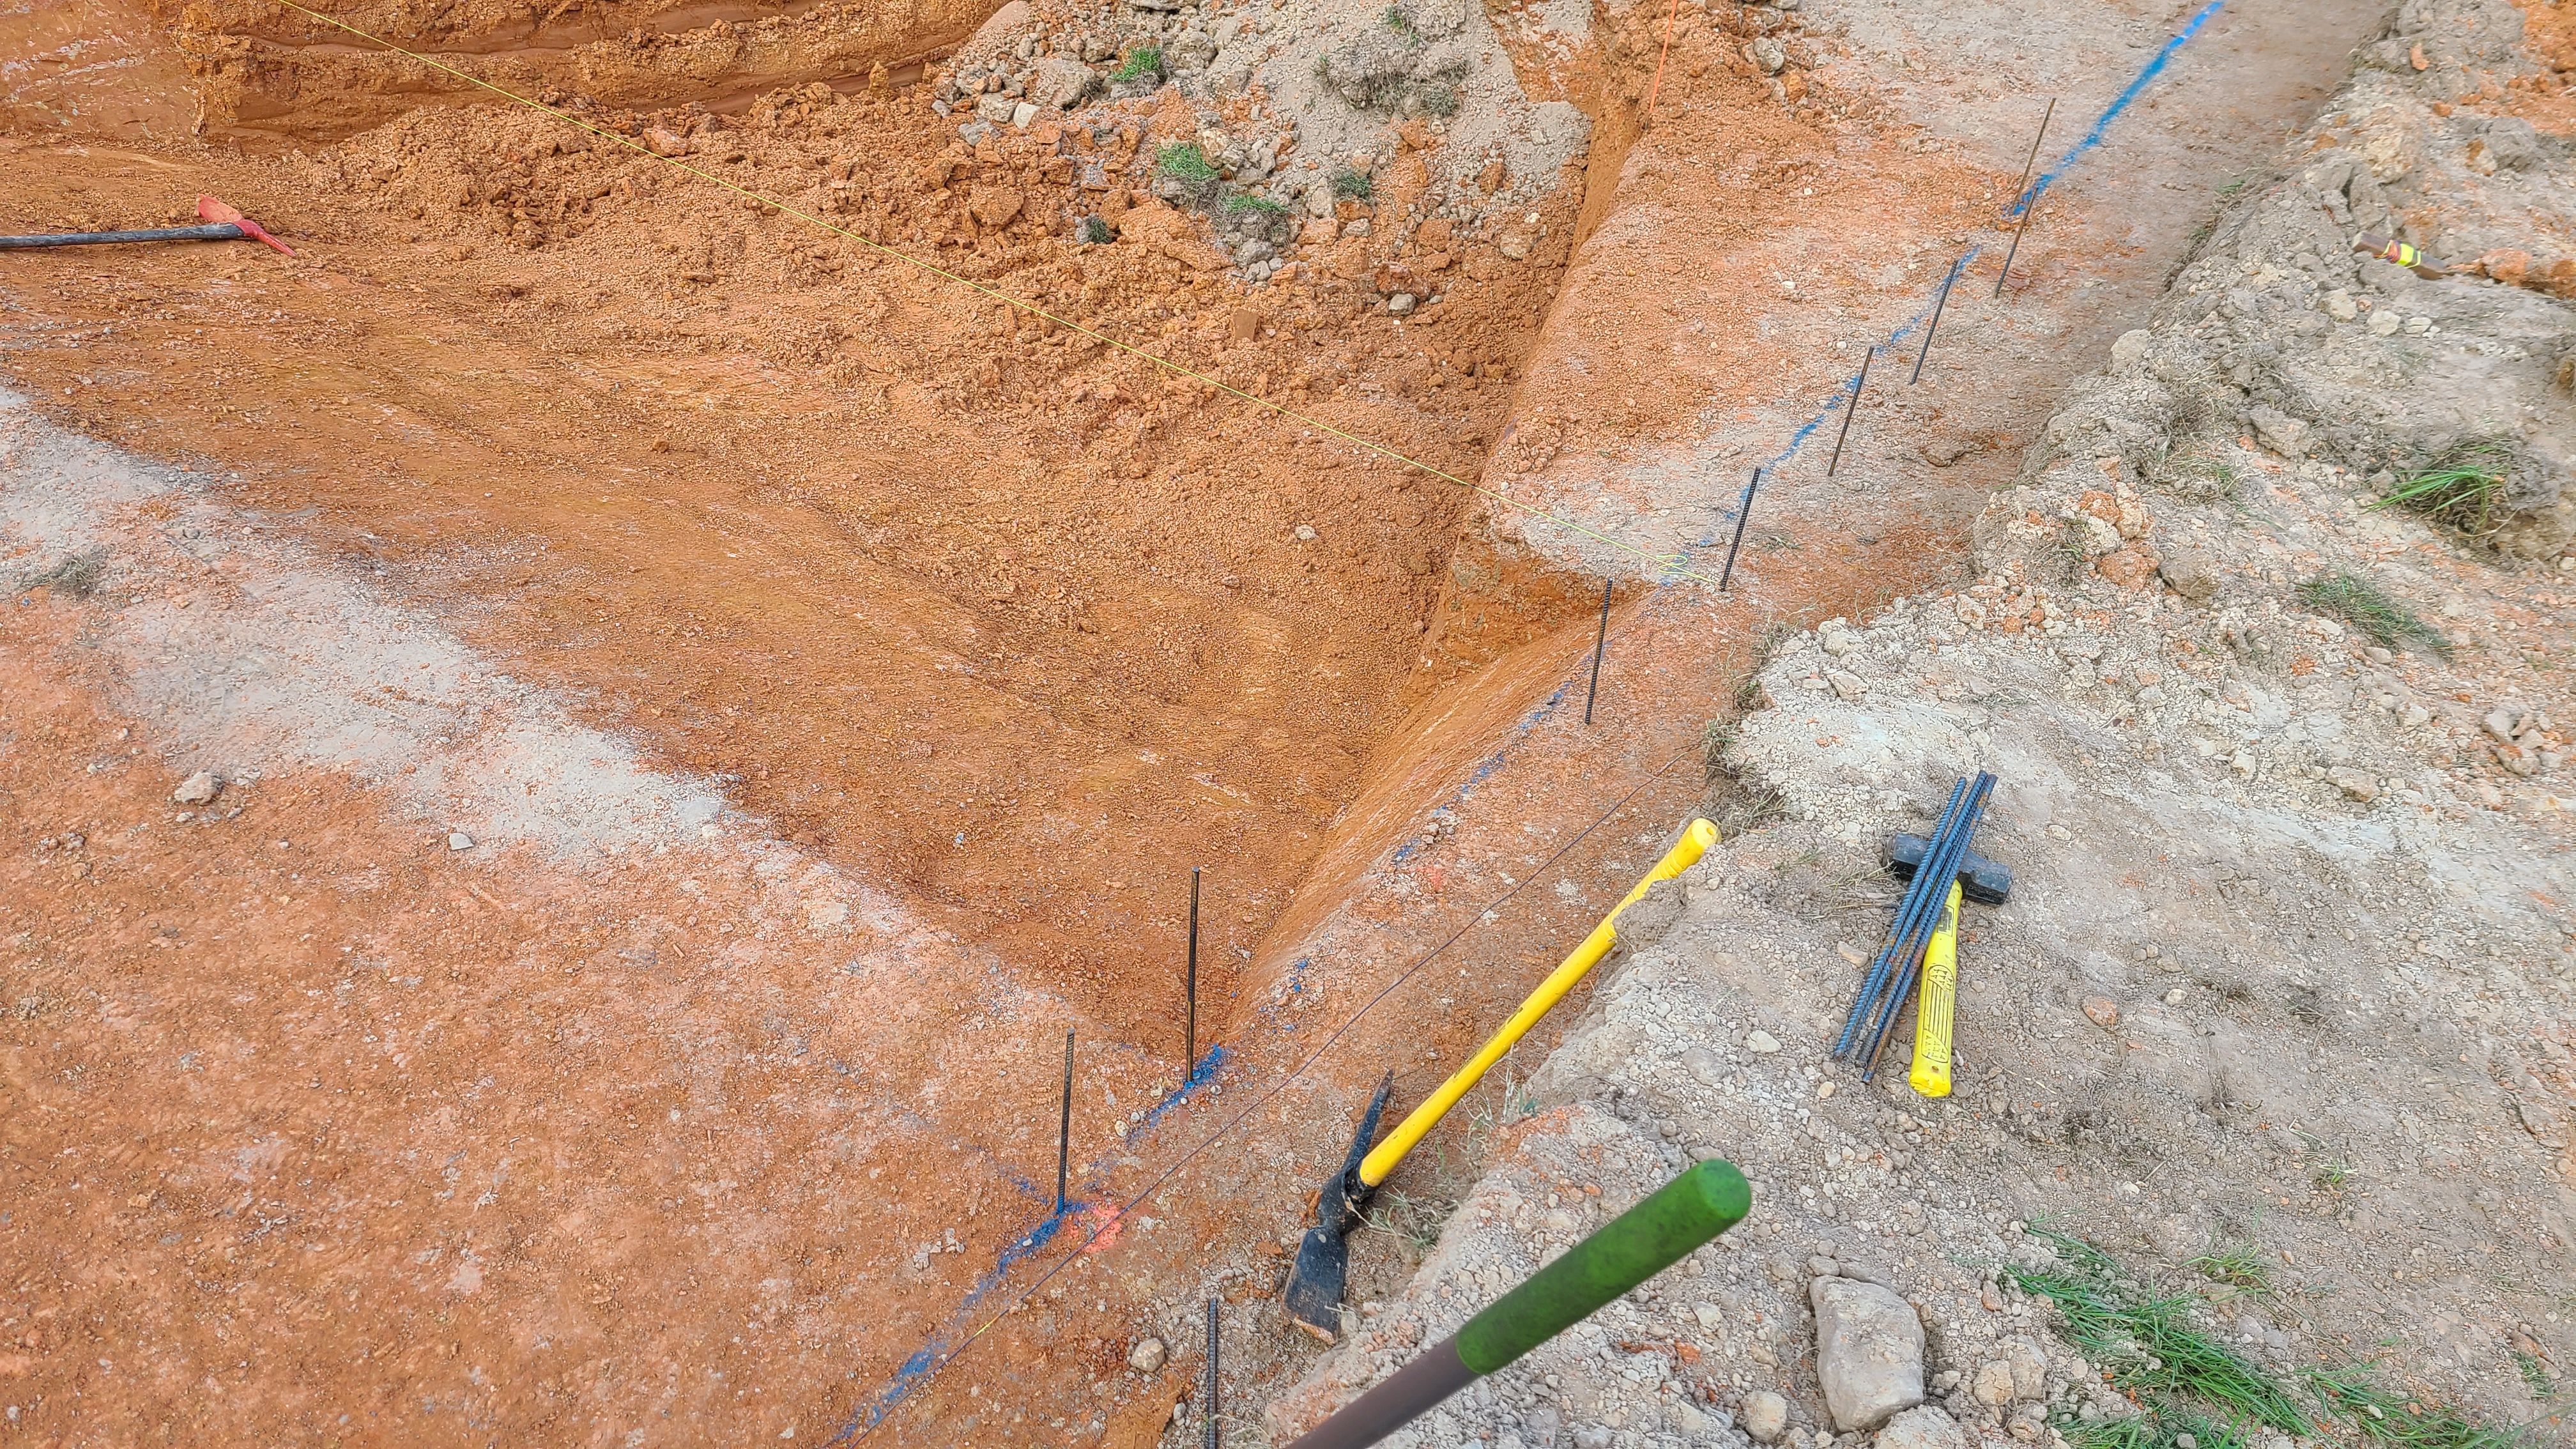
Day 1


Post js-post-1989380

The deep end was pure heck to shape by hand in the clay. It was literally one of the most labor intensive things I have ever done!


Day 2:


Finally time to do something besides dig and shave dirt.


Day 3:


Days 4-7:

Now it's time to assemble the sun deck and steps. Endless bags of nuts and bolts. It was polymer wall and steel sun deck and steps, so I had to drill holes to fasten the two together. The next several days were spent on the steps and making sure the whole thing was square.


Exactly 1 week after I broke ground...I was ready for the bond beam to be poured...and by sheer luck, I was able to schedule a concrete truck and pumper truck early that morning for around lunch. The first tropical storm of the year was suppose to dump heavy rains on us in 2 days...so I really wanted to get the bond beam poured while everything was square.


As the weather man promised...we got tons of rain. It put 4' of water and a ton of sludge in the deep end and caused some of my walls to wash onto the top of the concrete bond beam. It dried out enough to work again when another round hit a few days later and filled it up again.


It finally dried up enough to start working on the plumbing. I ran 2" for my skimmers and 1.5 for my returns. I put everything on it's own run. It made for lots of plumbing.


I kind of strayed from the normal order of operations next. The guy I wanted to use for the pool krete had an opening and I could not afford not to use him...so the pool krete was done in 1 day, before the backfill was 100% finished and before the pool deck was poured.


Now it is time to get the pool deck done. I was running short on time...getting colder each week, so I ended up paying someone to form up for the pool deck and pour it. I normally do all the forming/plastic/steel for concrete work and just hire the finisher...but with winter coming I hired this out.


Finally, almost exactly 4 weeks from the day I broke ground, it was time to hang a liner and fill it up. Fitting the liner in the tracks on the steps was a royal pain, but it fit as it should.


The finished product was exactly what I was hoping for. The water color was exactly what we wanted.


Over the winter and this spring I have been putting the finishing touches on the outside and inside of the pool house.


I finished up the shed roof over the pump pad. I am going to add a border like a flower bed from the building out around the poles and fill it with river rock.
20210414_120600.jpg
The pool house has a mini-split heat pump/ac unit. I am very happy with it. It uses almost no electricity.
20210415_123937.jpg

20210415_124014.jpg
Well operation "Pool Chiller" is underway. I received it a week or so ago and had to order a new Jandy valve and Hayward valve actuator as well as some other plumbing parts to be able to install it. I got it set in place over the weekend, cinder block base dug into the ground and leveled with air conditioner pad on top of those. I wired it up yesterday afternoon. The unit itself seems well thought out and constructed. Plumbing can be quite involved, depending on your current pool pad configuration. Fortunately for me I had more returns than I needed, so I am going to dedicate one for this chiller.

They recommend locating it in the shade, but at the same time in a location where there is nothing within 5' above the top of the unit. This rules out my covered pump pad area because the roof would be closer than 5'. I really did not want it there anyway due to sound. The only sound it makes is the fan and while it's not loud...it makes enough sound that you could hear it from the pool area if it was by the pump and I did not want that. I ended up putting it about 10' from the pump pad behind my pool house. This wall faces due North and it will be in the shade 100% of the day. Also in this location you can not hear it from the pool area.

I added it to my Omnilogic system. I configured it as a water feature with a high voltage relay and a valve. Once you turn it on it will open the water supply valve and turn the unit on both. I can configure it as an interlock and have it trigger at a set water temperature...but if I do that I will loose the ability to turn it on/off on a schedule or manually from what I understand.

When this thing came, my wife saw it and was surprise by the size of it, I think she was expecting a 2' square box like a heater or small outside AC unit. Later the same day, a storm was coming. Heavy wind, dark clouds and the rain was imminent. She walked inside and said to me "Hey, there is a storm coming. Let's load Dorothy in the back of your truck and head out" (Twister - 1996). I could not stop laughing, she nailed it. So when I was adding this to my automation last night, there was only one option when it came time to name it in the system. Meet Dorothy :D

Pool_Chiller.jpg
Ok...well I managed to get the pool chiller hooked up late Friday night. The pool reached a all time high Friday with a max temp of 96 degrees. That's just 6 degrees shy of my hot tub!!!

It was late so I did not do any fine tuning on the spray bar rotational speed. I checked to make sure it was turning in the recommended range of (7-12), and it was at 7 RPM. When I turned it on at Midnight the water temp in the pool was 94 degrees. The next morning at 7AM it was 89 degrees. It definitely works. Saturday was full sun with a high of 96 and a heat index of 105. I let it run all day and the pool only climbed to 91, so it did a great job of holding the temp down, only a 2 degrees increase from the start of the day temp during stupid hot weather. If left unchecked it would have most definitely hit 95 or 96 again.

During the day Saturday I played with pump speed and spray bar rotation speed. The instructions say if you have a variable speed pump you must run it on high, I did not find this to be true. I do have a big pump and a great flow rate, but I don't even have to run my pump at even 3/4 speed to get max spray bar rotation of 12 RPM's.

Here is a breakdown on the output it creates:
So it does make a big difference of the quantity of chilled water with spray bar speed settings. I did not test the output temp of the water after I ramped up the spray bar rotation. It feels about the same...just runs twice as long more often. I will test it at some point.

So Saturday night after getting the spray bar optimized it dropped the water temp overnight to 86 degrees at 5AM Sunday morning. YAY!!!! That was with a shorter runtime than Friday night. I personally don't want it any cooler than that and the wife had rather have it at 90. The weather Sunday was clouds with sun and a high of 89, so I did not run it at all Sunday or Sunday night. It's cloudy and raining today.

20210801_145847.jpg

Chiller_Plumbing.jpg

If you look at the above picture, you will see that I used one of my returns for the chiller. I added an actuator to the supply valve so I could run this completely with my automation. Since my pad is below the water line I had to put a shutoff on the line back to the pool for maintenance reasons. If you look at the top supply line to the chiller (red) and the bottom return line from the chiller (black) you will notice grey schedule 80 unions. I put these here so in the winter I can remove these sections of the lines to blow out the lines to the chiller. I will also hook up this short connector (pictured below) that I built so that line once again becomes a normal return to the pool and water will flow through it so I don't have to worry about freezing. I don't "close" my pool in the winter, so the pump needs to run in below freezing conditions to keep things from freezing.

20210801_145714.jpg

I also learned the Jandy check valve does not function like I expected. I put it in so that water from the pool would not flow into the chiller's basin when the chiller was not running (pool higher than pad). This works as expected if and only if the water level in the basin is low at the time of the shutdown. If the chiller basin is nearly full, ready to be pumped back into pool, when the chiller turns off, the weight of the water in the basin is enough to hold the valve slightly open..but since the water in the pool is higher than the water in the basin, the pool water flows past the open check valve and causes the water in the chillers basin to raise and overflow. To fix this I added and inverted U in the return line at the pad. The top of the U is above the water line for the pool and the chiller...so this stops the flow of water from the pool to the basin regardless of the depth of the water in the chillers basin.

All and all, I am pleased with it. But go figure as soon as I get it installed, the weather this week shows highs in the 88-92 range with lows in the 68-72 range...so I don't know if I will even need it this week.

I started by wrapping my columns in stacked stone. First time doing this type of masonry work and while I did not absolutely love it...I did not hate it either.
20220410_114155.jpg

Ran the conduit and pulled the wire 2 years ago....glad it worked.

20220410_200115.jpg

20220410_200057.jpg

This was the last thing I needed to finish before staring on the outdoor kitchen....which is already in progress.
I hesitate to use the word "finished" because I still have things I want to do, but as far as my initial goals when I started this project...the outdoor kitchen was the last thing on the punch list.

I will say it was a challenge, because the only set of plans was in my head. I had no measurements to go off of. I just started building and winging it as I went. Construction was pretty straight forward except for the fact that the concrete slab it's sitting on falls away from the building at a slope of 1/4" per foot. At any rate, it was built so that it is level. I built in plenty of storage and so far it is proving to be a very functional space. I have room for 8 bar chairs that are ordered (polywood). I am glad this last piece is finally done. I think I will just try to relax and enjoy what's left of the summer.

20220719_200544.jpg


20220719_200006.jpg

20220719_200317.jpg

20220719_200127.jpg

20220719_200413.jpg

20220719_200223.jpg

20220719_200253.jpg

20220719_214639.jpg

I will say it was a challenge, because the only set of plans was in my head. I had no measurements to go off of. I just started building and winging it as I went. Construction was pretty straight forward except for the fact that the concrete slab it's sitting on falls away from the building at a slope of 1/4" per foot. At any rate, it was built so that it is level. I built in plenty of storage and so far it is proving to be a very functional space. I have room for 8 bar chairs that are ordered (polywood). I am glad this last piece is finally done. I think I will just try to relax and enjoy what's left of the summer.


It was worth all of the effort!!! Night_Pool.jpg